
Can insulated bottles hold 60-65C for 2 hours after drop and leak tests?
A bottle can pass a drop test and still fail in the buyer’s hand. I see that risk when heat retention is checked too late.
Yes, I expect a quality double-wall vacuum insulated bottle1 to hold 60-65°C for 2 hours after drop and leak tests if the vacuum seal, welded seams, lid gasket, and bottom structure stay intact.
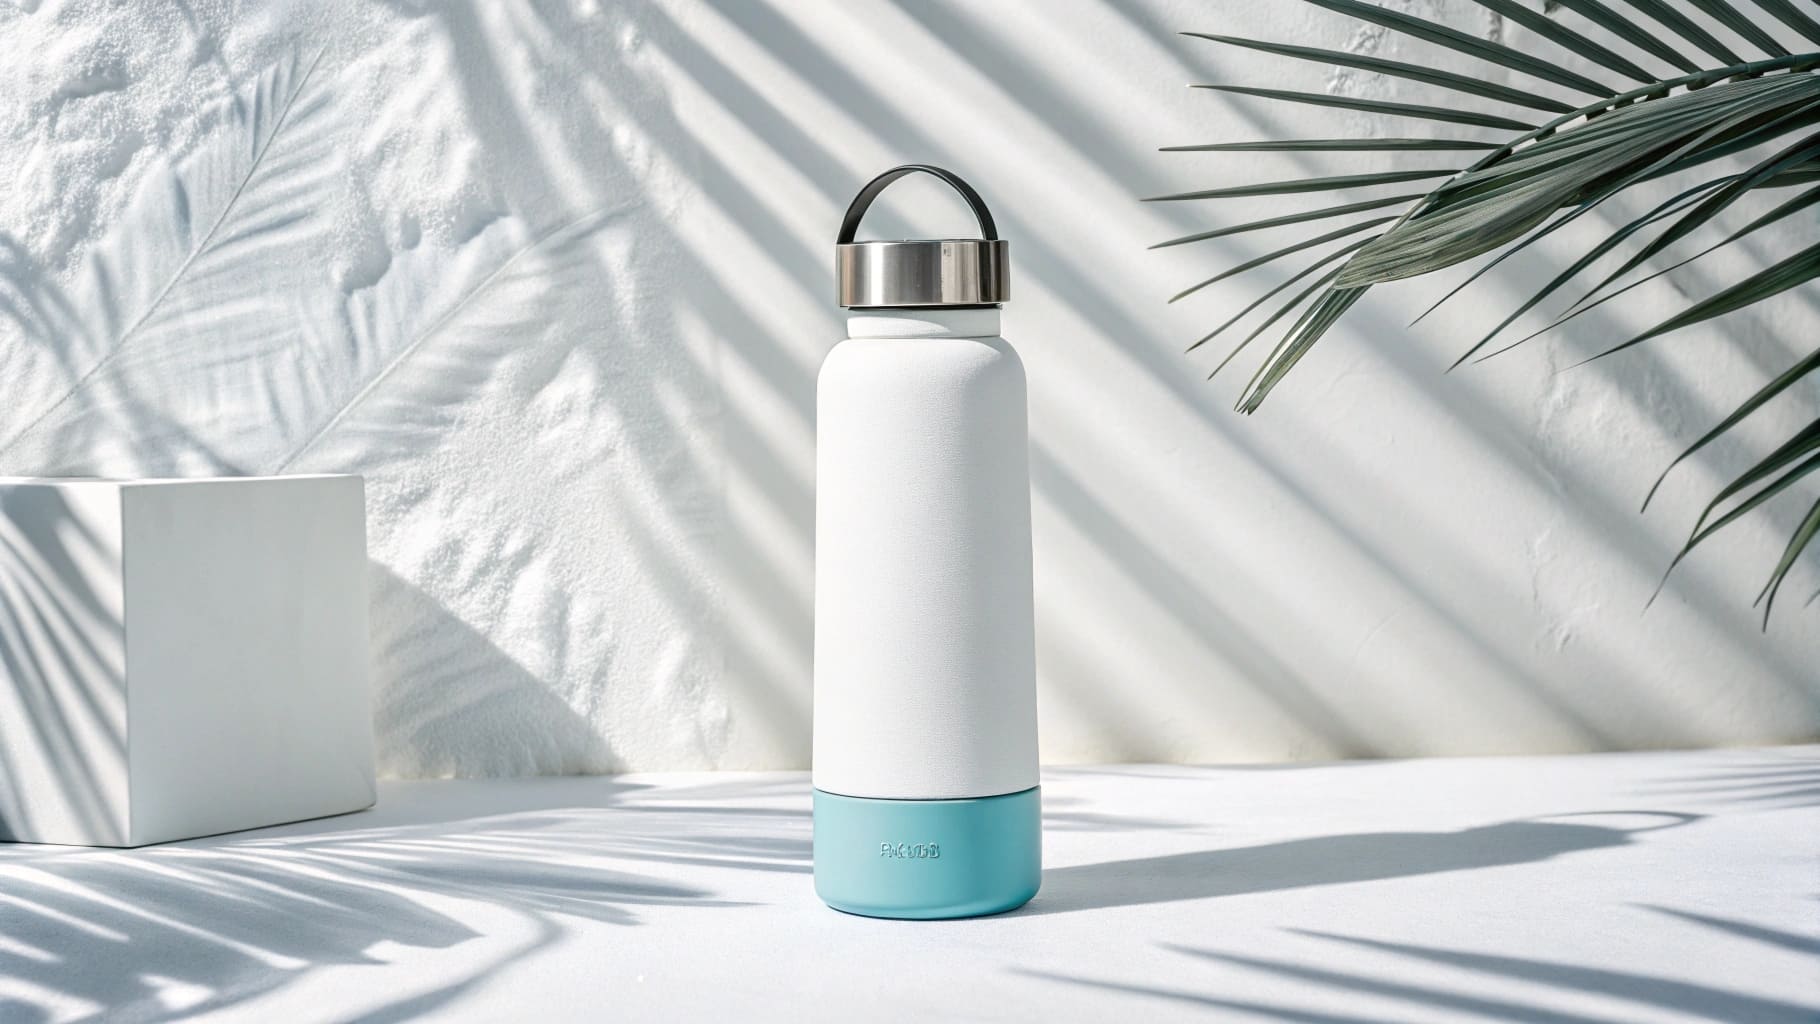
I do not judge an insulated bottle by a clean sample on a desk. I judge it after impact, pressure, water contact, packing stress, and handling. In my work with wholesale buyers, I often see one hidden problem. A factory may test leakage first and temperature later, but it may not connect both tests. I prefer a combined test flow. I drop the bottle, check leakage, then test heat retention again. This gives me a closer view of real shipping and daily use. If a bottle keeps 60-65°C for 2 hours after these checks, I see it as a stronger product for B2B orders. It does not mean the bottle is perfect. It means the bottle has passed a useful stress point before mass shipment.
How long does ice last in an insulated bottle?
Ice loss can make a premium bottle feel cheap fast. I care about this because end customers judge cold drinks by real outdoor use.
I expect a strong stainless steel insulated bottle to keep ice for 24-48 hours. I see premium models reach longer times in controlled tests, but real use depends on heat, lid opening, bottle size, and ice ratio.
I use ice retention as a simple quality signal
I like ice tests because they are easy to understand. A buyer in Canada may not know vacuum pressure or wall thickness, but he understands melted ice. I still do not use ice retention as the only test. I use it with leakage, drop, coating, lid fit, and inner wall checks. I have seen bottles with a nice shape lose ice too fast because the lid was weak. I have also seen heavy bottles perform only average because the vacuum layer was not stable.
| Test point | What I look for | Why I care |
|---|---|---|
| Ice start level | I use a clear ice-to-water ratio | I want each sample to face the same test |
| Lid opening | I keep the opening pattern fixed | I avoid false results from frequent use |
| Room heat | I record the test room condition | I compare results in a fair way |
| Bottle mouth | I compare wide mouth and narrow mouth designs | I know wide openings can lose cold faster |
| Lid seal | I check gasket pressure and fit | I know the lid often becomes the weak point |
I tell buyers that ice retention is not magic. It comes from vacuum quality, steel forming, lid design, and the final assembly2. I also explain that a wide-mouth bottle can be easier to clean, but it may lose cold faster than a narrow-mouth bottle3. For outdoor, retail, and corporate gift markets, I prefer to set a clear promise like 24-hour ice retention. I think that is safer than making a high claim that the final user may not see in summer conditions.
How long does it take for insulation to mold?
Mold creates fast complaints, and it can damage a brand even when the steel body is not the real cause. I treat this issue very seriously.
I do not expect the vacuum insulation space to mold because it has no food residue. I usually see mold in lids, threads, straws, and silicone gaskets after 48-72 hours of warm, wet storage.
I separate insulation failure from cleaning failure
I often hear buyers say that the insulation has mold. I understand the concern, but I ask where the mold appears. If the mold is inside the drink area, lid groove, straw hole, or gasket edge, the problem is usually trapped moisture and residue. If the bottle has moisture between walls, that is a different problem. That may point to poor sealing or vacuum damage. I do not treat these two cases as the same issue.
| Area | Mold risk | My control point |
|---|---|---|
| Vacuum space | Very low under normal structure | I check sealing and pressure integrity |
| Inner bottle wall | Medium if drinks are left inside | I suggest smooth polish and easy cleaning |
| Lid thread | High if residue stays there | I check thread depth and cleaning access |
| Silicone gasket | High if the gasket traps moisture | I prefer food-grade silicone4 and removable parts |
| Straw or sip lid | High with sweet drinks | I suggest cleaning brushes and spare parts |
I also watch the lid design before I approve a bulk order. A complex lid can look valuable, but it may hide dirty corners. I prefer a lid that can be taken apart by the end user without tools. I also like replacement gasket options for B2B buyers because small parts can protect the full bottle value. In my own sample checks, I leave used bottles closed for a short time after testing milk tea, coffee, or sports drinks. I do this because plain water testing can hide the real complaint risk. If a buyer sells under his own brand, I suggest adding simple cleaning cards in the packaging. I see this as a low-cost way to reduce after-sales problems and protect the rebranded product.
How to keep an insulated water bottle cold?
A good bottle can still perform badly if the user fills it warm, leaves air inside, or opens the lid all day. I plan for real behavior.
I keep an insulated water bottle cold by pre-chilling it, filling it with cold liquid and ice, leaving little air space, closing the lid tightly, and keeping it away from direct heat.
I control the bottle, the liquid, and the lid
I do not see cold retention as only a factory promise. I see it as a mix of product structure and user habits. If I want the bottle to stay cold longer, I first rinse or fill it with ice water for several minutes. This step cools the inner wall. Then I add cold liquid and enough ice. I also avoid leaving too much empty space because warm air inside the bottle can speed up temperature change. The lid matters a lot. A weak lid can waste the work done by a strong vacuum body.
| Action | My reason | My B2B note |
|---|---|---|
| Pre-chill the bottle | I lower the starting wall temperature | I can explain this in user instructions |
| Use enough ice | I add more cold mass | I set realistic claims for outdoor use |
| Fill close to full | I reduce warm air inside | I help users get better results |
| Close the lid fully | I reduce heat transfer from the top | I inspect gasket compression in production |
| Avoid direct sun | I reduce outside heat gain | I prefer powder coating for hot markets |
I also compare exterior finishes. A polished bottle can look bright, but it may absorb or reflect heat in a way that affects comfort and use. I often prefer powder coating for daily use because it gives grip and helps reduce heat feel in sunlight. For corporate buyers, I also check logo method. Laser marking, silk printing, and powder coat color choices can affect final appearance after handling. I do not want a bottle that keeps cold but loses brand value after a few weeks. For wholesale orders, I ask for a full sample test before production. I check cold retention, lid torque, leak status, coating adhesion, carton strength, and spare accessory fit. I do this because one small failure can create a large shipment problem.
What should I check before I trust heat retention after drop and leak tests?
A heat claim looks safe on paper, but shipping and daily impact can break weak construction. I do not accept a claim without stress testing.
I check vacuum integrity, welded seams, bottom strength, lid sealing, leakage after impact, and heat retention after the drop test. I trust the result only when these checks connect in one test flow.
I test the order like the buyer’s customer will use it
I think a bottle should pass more than a showroom test. I want it to survive warehouse movement, cartons being stacked, store handling, and daily drops. In B2B trade, I see delayed shipments and certificate issues hurt buyers more than a small price difference. This is why I connect durability and insulation in one process. I do not only ask if the bottle held hot water before the drop. I ask if the same bottle still holds heat after impact and leak testing.
| Check item | My method | My concern if it fails |
|---|---|---|
| Drop test | I test common impact points | The vacuum may lose strength |
| Leak test | I test upright and inverted positions | The buyer may get returns |
| Heat retention | I test after physical stress | The claim may not match real use |
| Welded seam | I inspect forming and joining areas | The wall may fail under shock |
| Bottom panel | I check dents and structure | The bottle may lose balance or vacuum |
| Certificate review | I match documents with product details | The buyer may face compliance risk |
I also prefer clear communication before production. I know many procurement officers understand sales channels, but they may not know the technical weak points in stainless steel bottles5. I try to explain the difference between normal heat retention and heat retention after damage stress. A bottle may keep heat for many hours under normal conditions, but poor construction can fail after a drop. I also ask my team to keep test photos, sample records, and inspection notes. I do this because a serious buyer needs proof, not only promises. For payment and logistics, I also suggest clear milestones. I believe a good order needs tested samples, confirmed packaging, checked certificates, and a shipment plan that protects the peak sales season.
Conclusion
I trust bottles that keep heat after impact, hold ice, resist mold, and stay cold with simple use. I test these points before I quote.
-
"Vacuum flask", https://en.wikipedia.org/wiki/Vacuum_flask. Studies on vacuum insulation demonstrate that intact double-wall construction with effective vacuum sealing can maintain beverage temperatures within narrow ranges for extended periods, though specific performance varies with design factors. Evidence role: general_support; source type: research. Supports: typical thermal performance characteristics of vacuum-insulated containers. Scope note: General thermal insulation principles rather than the specific 60-65°C/2-hour claim after impact testing ↩
-
"Thermal conductivity and resistivity", https://en.wikipedia.org/wiki/Thermal_conductivity_and_resistivity. Heat transfer in insulated containers occurs through conduction, convection, and radiation; vacuum quality reduces convection, material selection and forming affect conduction pathways, and seal design controls both air infiltration and direct thermal bridging at closure points. Evidence role: mechanism; source type: research. Supports: the mechanisms by which structural components affect thermal insulation. ↩
-
"THERMAL DESIGN OF SHIPPING CONTAINERS FOR BENEFICIAL ...", https://www.ars.usda.gov/ARSUserFiles/30200525/396thermaldesignofshippingcontainersforbeneficialinsects.pdf. Larger openings in insulated containers increase the surface area for convective heat exchange and radiation when opened, and can create larger thermal bridges through closure mechanisms, though the magnitude of effect depends on usage patterns and seal design. Evidence role: mechanism; source type: research. Supports: the relationship between opening size and heat transfer during use. ↩
-
"Recognized Consensus Standards: Medical Devices - FDA", https://www.accessdata.fda.gov/scripts/cdrh/cfdocs/cfstandards/detail.cfm?standard__identification_no=40175. Food-grade silicone must meet regulatory standards for food contact materials, is non-porous, and resists microbial adhesion better than many organic materials, though proper cleaning remains necessary to prevent biofilm formation. Evidence role: definition; source type: government. Supports: regulatory standards and properties of food-grade silicone. ↩
-
"Vacuum flask", https://en.wikipedia.org/wiki/Vacuum_flask. Stainless steel provides corrosion resistance, structural strength for vacuum maintenance, food safety compliance, and formability for double-wall construction, making it a standard choice for durable insulated beverage containers. Evidence role: general_support; source type: education. Supports: material properties that make stainless steel suitable for insulated containers. ↩