What printing and coating specs ensure durable logos on water bottles?
I've seen too many buyers waste money on water bottles where logos fade after just a few months. Your brand deserves better.
Durable logos need matching printing methods1 with proper surface prep and protective coatings. Laser etching offers permanent marks while screen printing needs UV coating for longevity.
Last year I worked with a Canadian distributor whose first order had logos that washed off after three weeks. He lost $15,000 and nearly his entire client base. I don't want that happening to you. The difference between a logo that lasts and one that fails comes down to understanding how printing technologies work with surface treatments. Let me walk you through what actually matters when you place your order.
What is the best material for water bottle labels?
Your label material choice affects everything. Pick wrong and even perfect printing won't save your logos from peeling off.
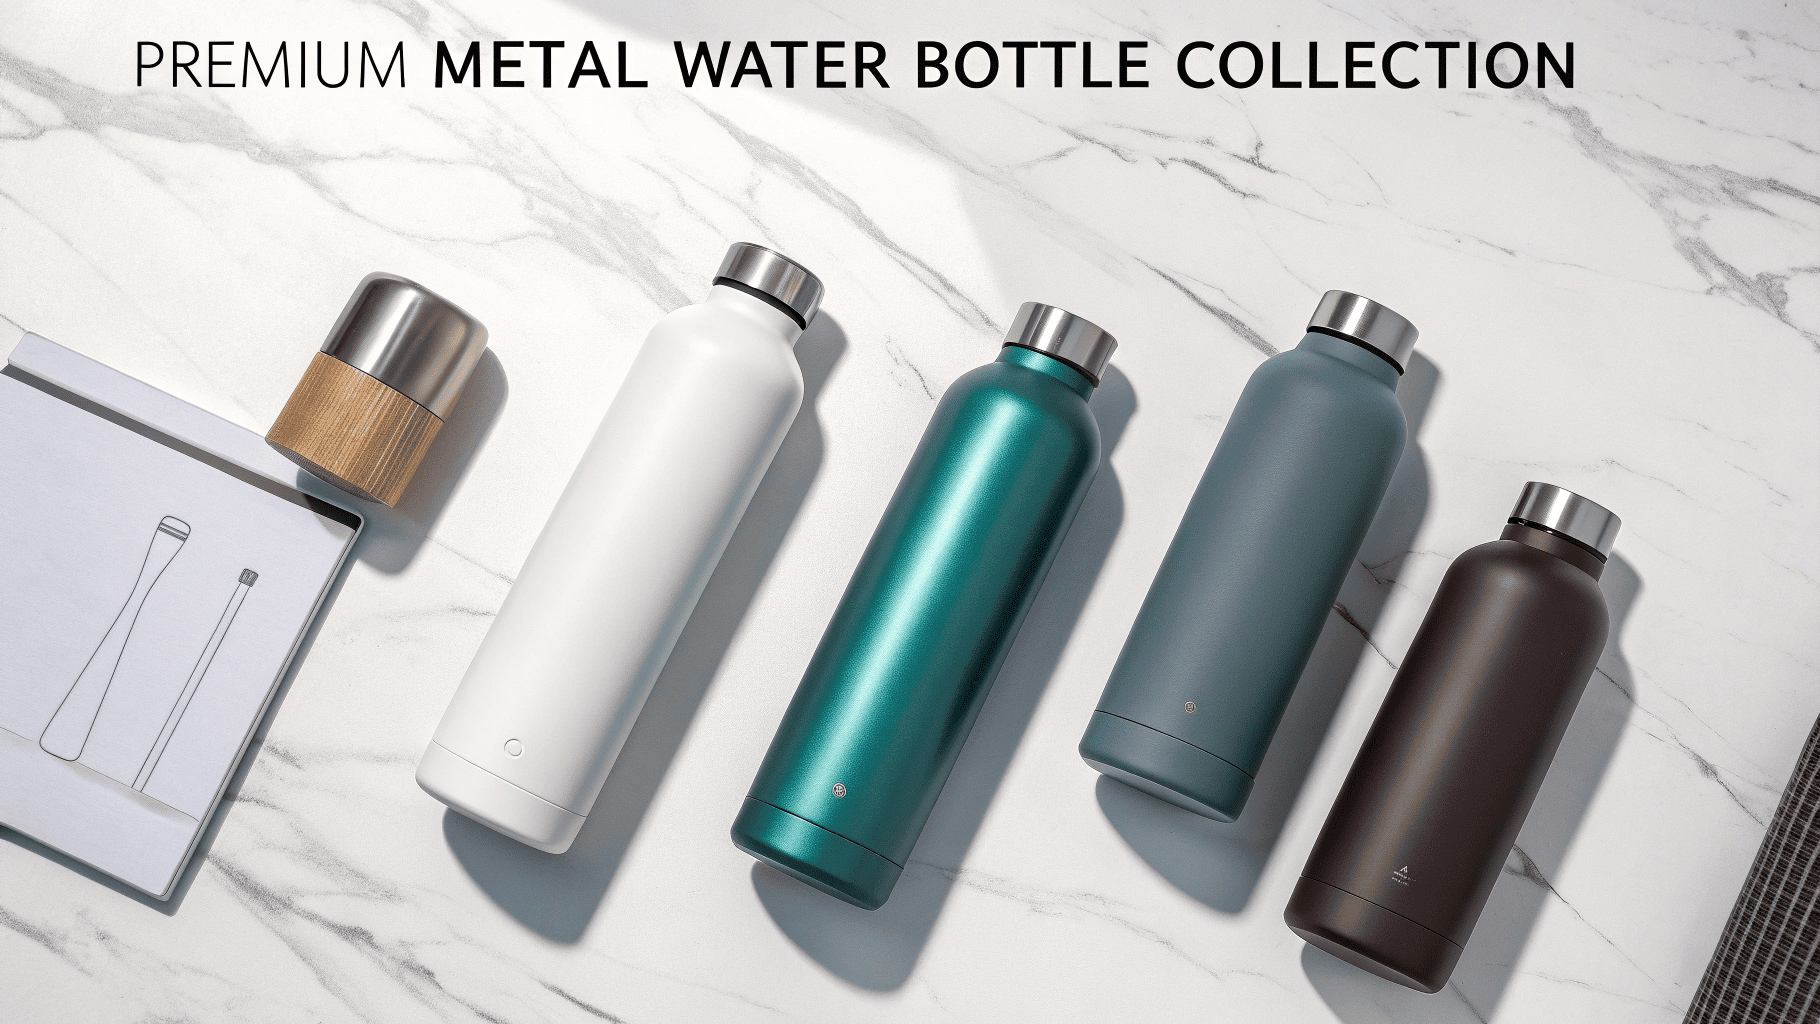
For plastic bottles, TRITAN and polypropylene work best with different printing methods. For metal emblems on stainless steel, expect superior durability but higher costs.
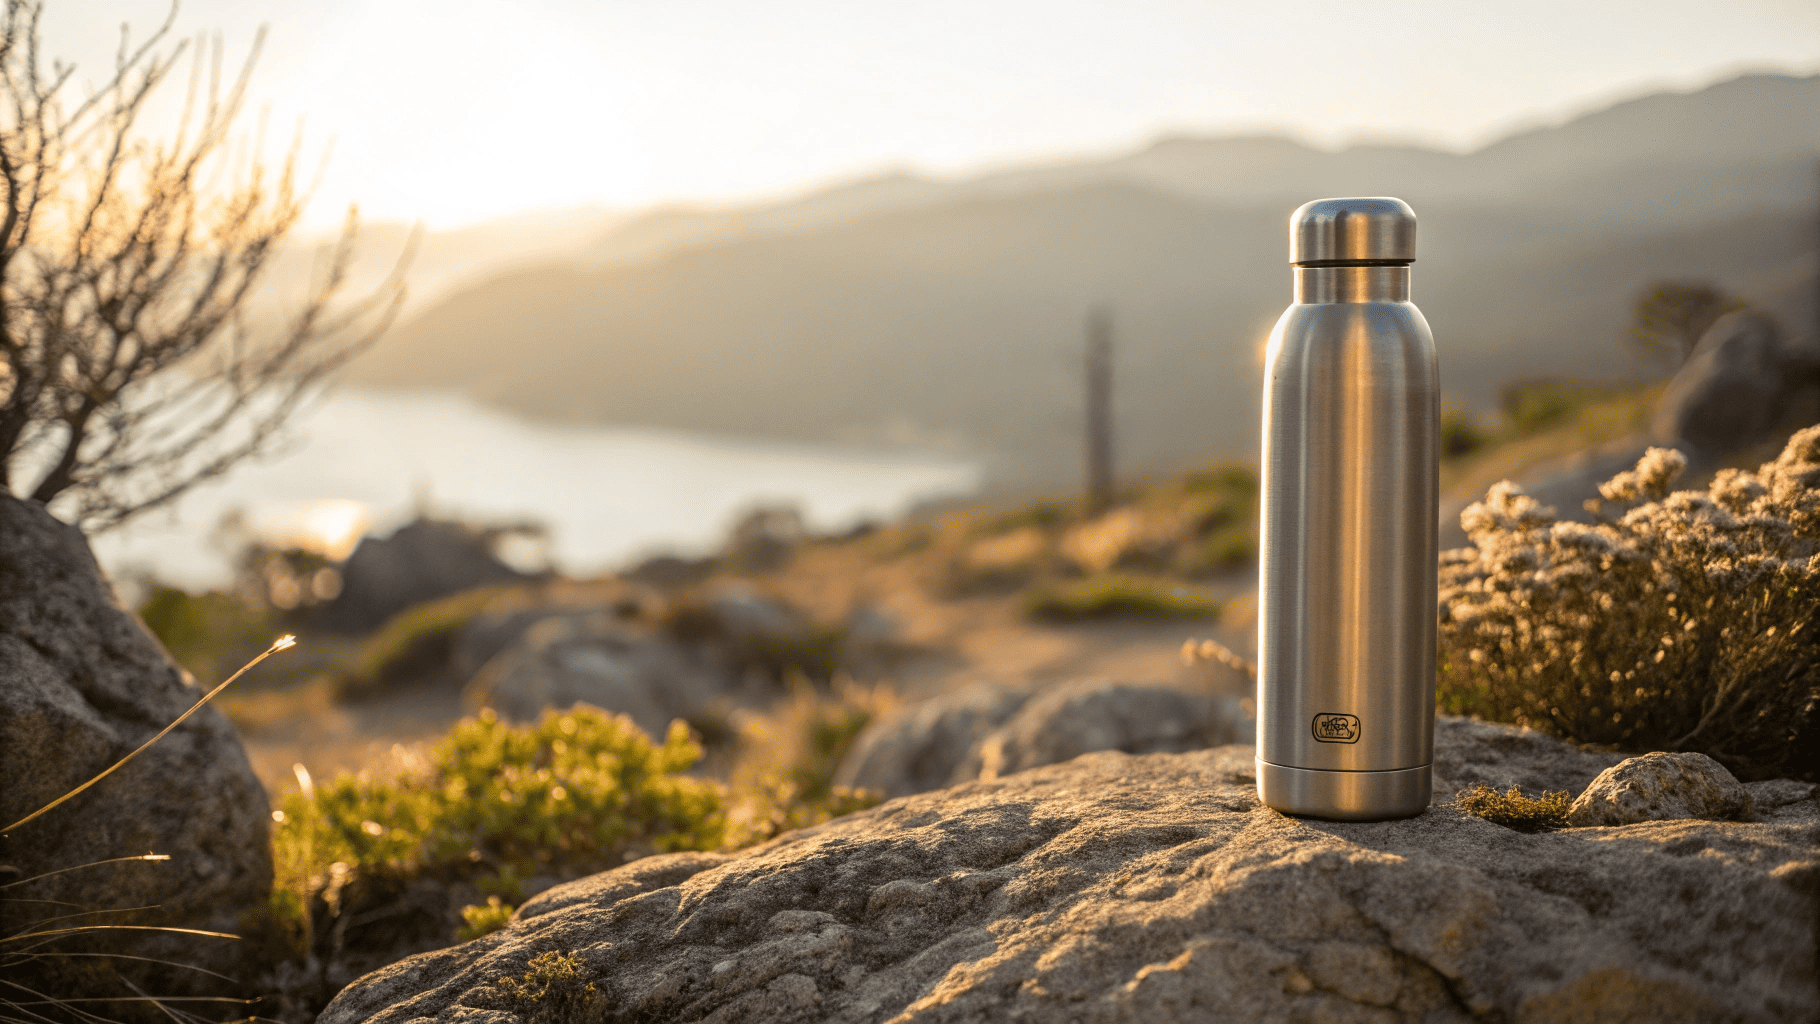
I recommend TRITAN for most custom water bottle projects. It handles heat up to 94°C and works with nearly every printing method we offer. Silkscreen prints stick well to TRITAN surfaces. Laser engraving creates clean, permanent marks. Heat transfer prints bond strongly when applied correctly.
Polypropylene costs less than TRITAN. It resists chemicals better and bends without cracking. I suggest polypropylene when you need UV printing or pad printing. These methods create bright colors on PP surfaces.
Metal emblems give you the most durable option for premium bottles. We attach them with strong adhesive or mechanical fasteners. They never fade because the logo is stamped or etched into metal. But metal emblems increase your per-unit cost by $0.80 to $2.50 depending on size.
Traditional adhesive labels need waterproof lamination. Without it, moisture seeps under edges within weeks. I always add lamination to adhesive labels even though it raises costs slightly. The protection justifies the expense.
Here's how materials compare:
| Material | Heat Resistance | Best Printing Methods | Durability Rating | Cost Level |
|---|---|---|---|---|
| TRITAN | Up to 94°C | Screen, laser, heat transfer | High | Medium |
| Polypropylene | Up to 100°C | UV, pad printing | Medium | Low |
| Metal Emblem | Unlimited | Stamping, etching | Highest | High |
| Vinyl Label | Up to 80°C | Digital, UV | Medium (with lamination) | Low |
How to print a logo on a water bottle?
Printing technology determines how long your brand stays visible. Choose based on your order volume and how customers will use the bottles.
Laser etching2 creates permanent marks that survive thousands of wash cycles. Screen printing works for moderate volumes and needs protective coating. Digital printing enables full-color designs.
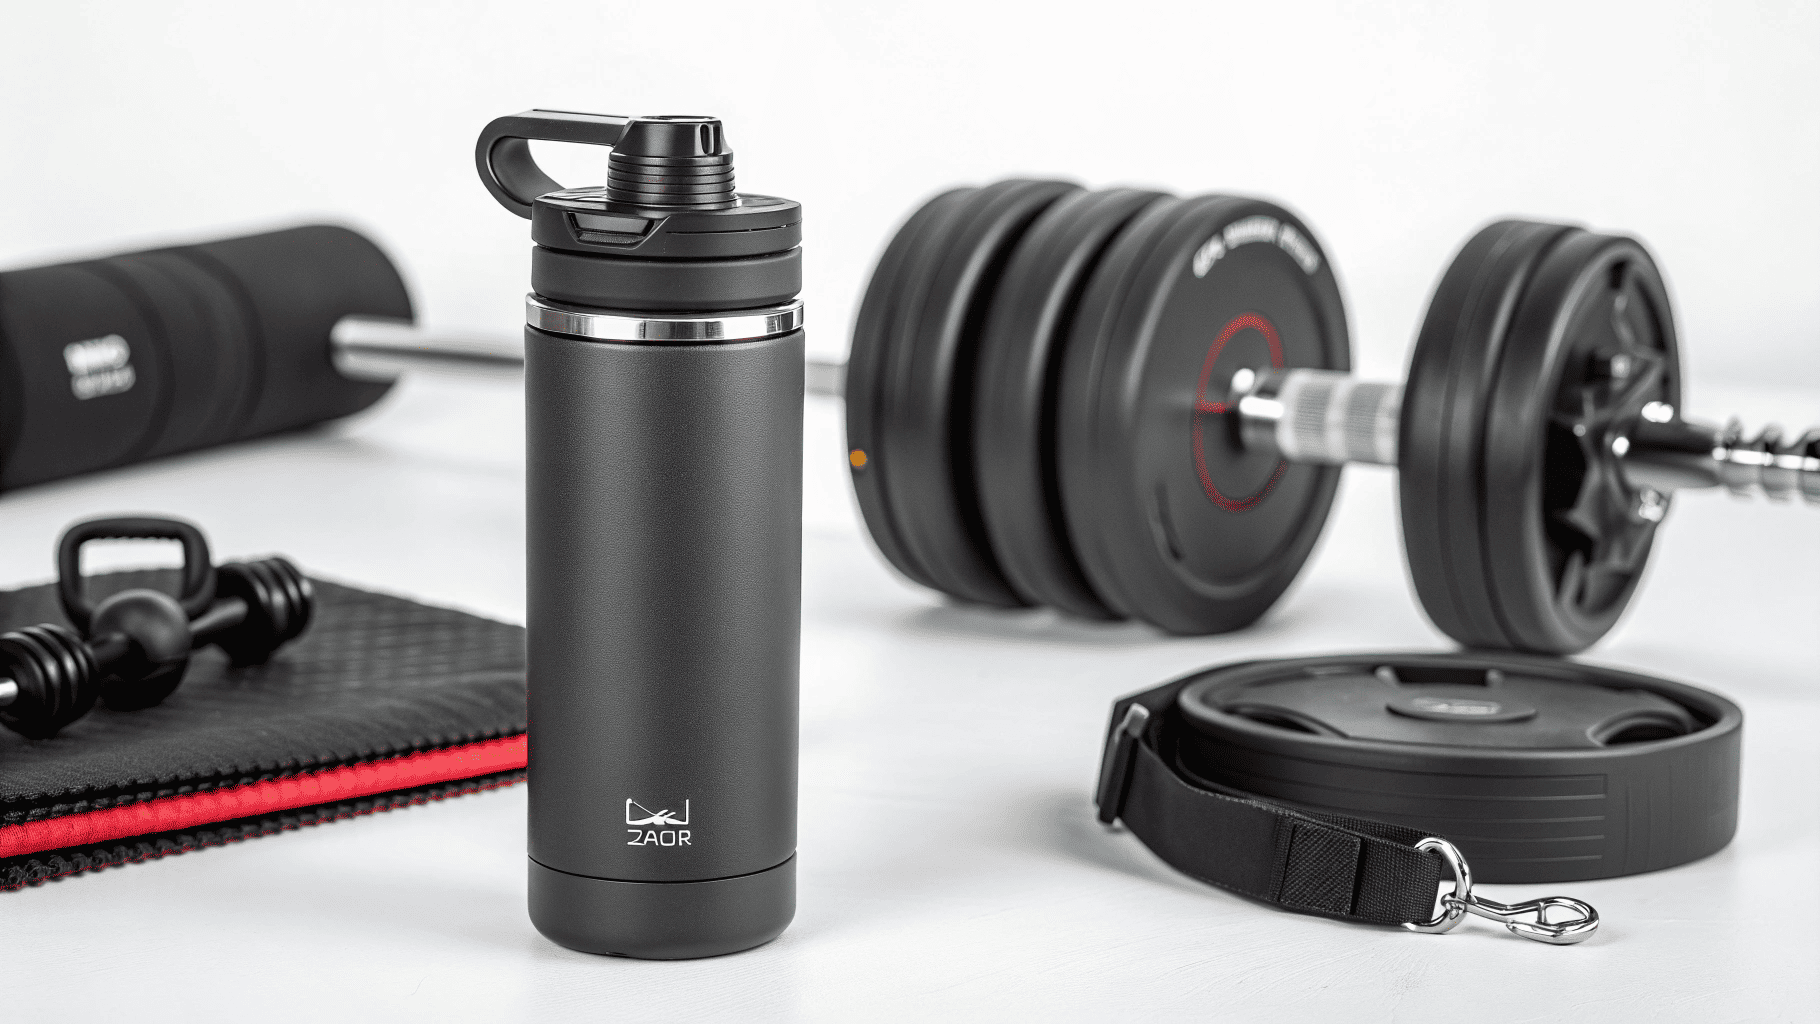
I guide most B2B buyers toward laser etching for stainless steel bottles. The laser removes a thin surface layer. This creates a permanent mark that cannot wash away or fade. Your customers can scrub these bottles with steel wool and the logo stays intact. Laser etching costs more upfront because of equipment expenses. But it eliminates complaints about fading logos.
Screen printing suits orders over 500 units. We apply ink through mesh screens onto the bottle surface. Each color requires a separate screen. This method produces sharp, bold logos at reasonable costs. But screen printed logos need protection. Without UV coating or powder coat over them, the ink wears away in six to twelve months.
Heat transfer printing uses vinyl films with your logo. We heat these films until adhesive activates and bonds to the bottle. Heat transfer works well for complex, multi-color designs. The durability matches screen printing3 when we add protective coating.
Digital printing gives you unlimited colors and photographic quality. We print directly onto bottles using specialized inkjet systems. This method works best for small batches under 300 units. Digital prints require protective layers because the ink sits on the surface rather than bonding chemically.
Embossing and debossing physically reshape the metal surface. We press your logo design into the stainless steel. This creates raised or recessed branding that lasts forever. No coating needed because we've actually changed the bottle's shape. These methods cost the most but deliver unmatched durability.
I recommend matching the printing method to bottle usage. For gym bottles that get daily washing, use laser etching. For promotional giveaways, screen printing with UV coating balances cost and durability. For premium corporate gifts, consider embossing4.
How to make personalized water bottle labels waterproof?
Water exposure destroys most labels within weeks. Proper waterproofing keeps your branding intact through condensation, rain, and washing.
Use water-resistant base materials, then print with UV-curable inks5, and finally seal with protective lamination. This layered approach stops moisture from reaching adhesive.
I start every waterproof label with synthetic paper or vinyl. Regular paper absorbs water and falls apart. Synthetic materials repel moisture at the material level. Vinyl costs less and works for most applications. Synthetic paper feels more premium and accepts ink better.
The inks matter as much as the base material. I specify solvent-based or UV-curable inks for all water bottle labels. These inks form chemical bonds with the substrate. Water cannot dissolve these bonds. Standard water-based inks will run and smear when wet, even with lamination.
Lamination creates the final waterproof barrier. We apply clear protective film over printed labels. This film seals the edges where moisture typically infiltrates. The lamination thickness affects durability. I use 2 mil lamination for basic protection and 5 mil for bottles facing harsh conditions.
Liquid UV coating offers an alternative to film lamination. We spray or roll UV-reactive liquid over labels, then cure it with UV light. This creates a hard, glossy shell that seals completely. UV coating costs less than film lamination for large runs.
Edge sealing prevents the most common failure point. Moisture enters where label edges meet bottle surface. I always ensure our production team heat-seals label edges or applies extra adhesive around perimeters.
Before I approve any large order, I run waterproof tests. We submerge sample bottles in water for 48 hours. We also run them through dishwasher cycles. I check for bubbling, edge lifting, and ink bleeding. These tests reveal waterproofing failures before you invest in thousands of units.
Testing specifications I follow:
| Test Type | Duration | Pass Criteria | Failure Signs |
|---|---|---|---|
| Submersion | 48 hours | No edge lifting | Bubbling, peeling |
| Dishwasher | 5 cycles | No ink loss | Fading, bleeding |
| Condensation | 72 hours in humidity | No adhesive failure | Edge separation |
| Abrasion | 100 rubs with cloth | No visible wear | Color loss, scratches |
The combination of proper materials, correct inks, and complete sealing determines success. I never skip any layer of this waterproofing system. Each element protects against specific failure modes. Remove one layer and you create a weak point where water will eventually damage your branding.
Conclusion
Durable logos require matching printing methods with proper materials and protective coatings. Test samples thoroughly before committing to production quantities.
-
Learn about various printing methods that can enhance the durability of your logos. ↩
-
Understand why laser etching is a preferred method for creating permanent logos. ↩
-
Explore the pros and cons of screen printing for logo durability. ↩
-
Discover how embossing can create lasting impressions on your products. ↩
-
Understand the advantages of using UV-curable inks for water bottle labels. ↩