
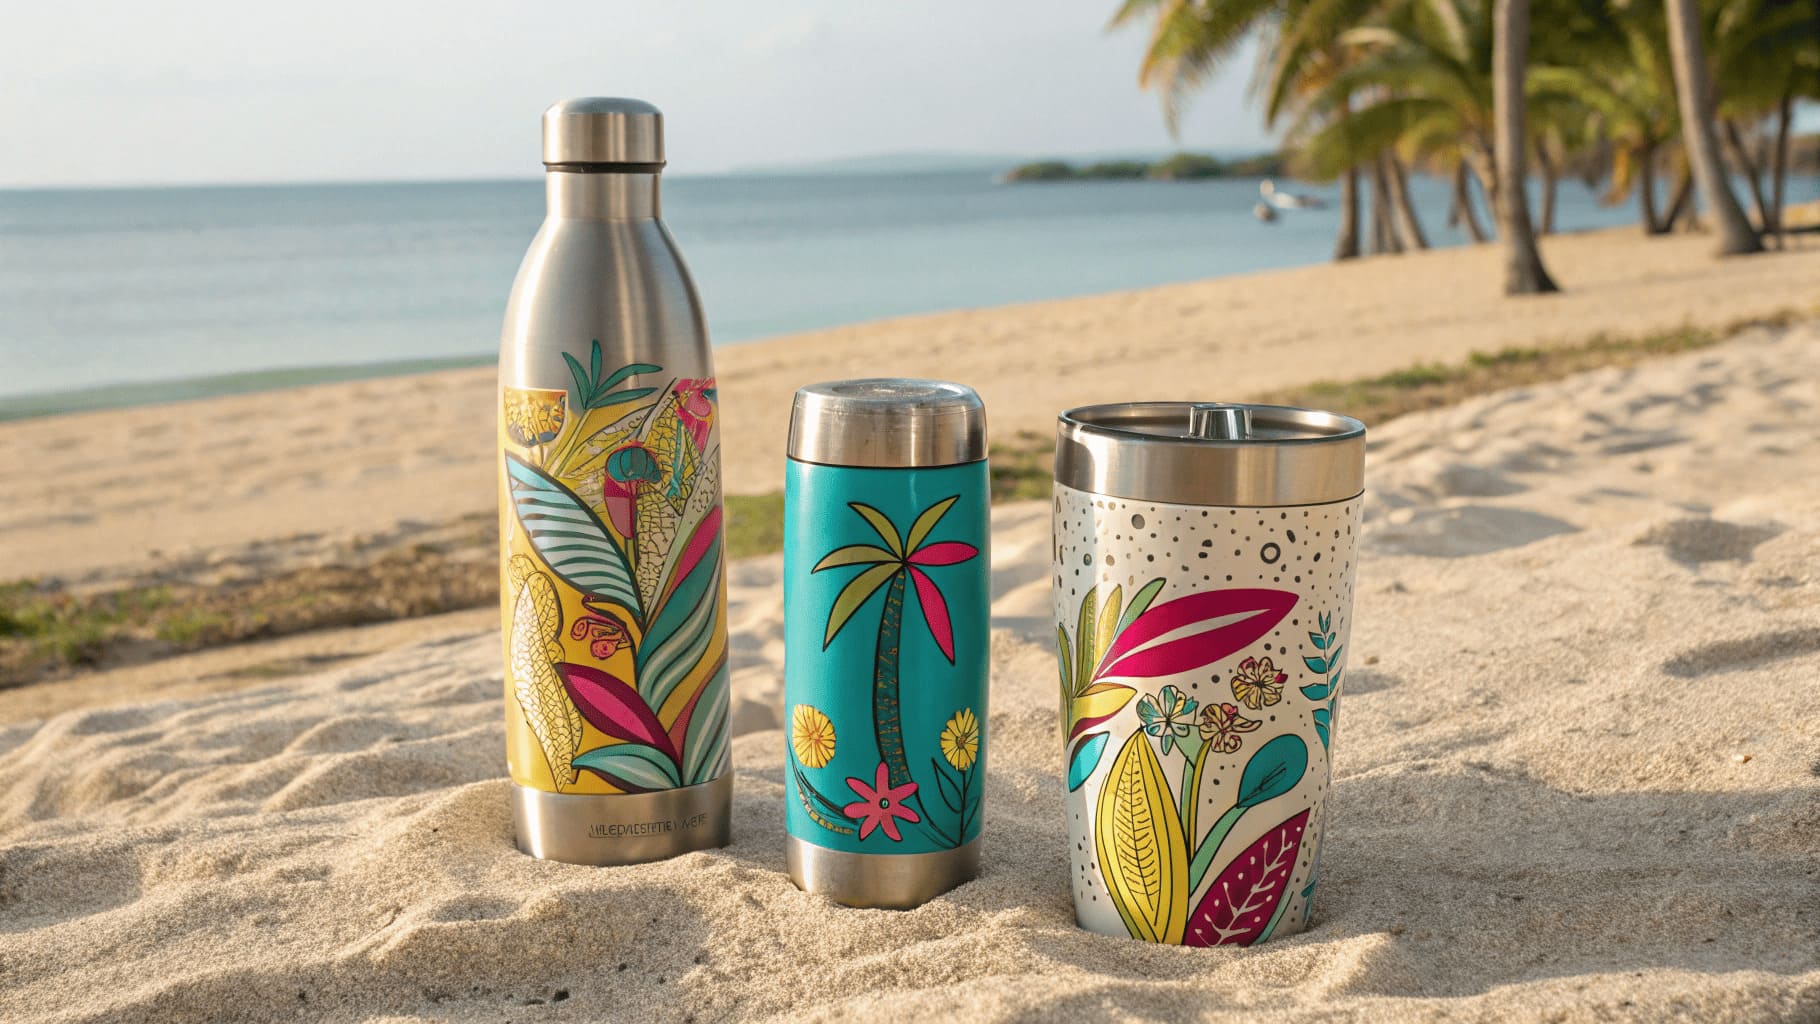
What Leak, Vibration, and Thermal Tests Matter for Insulated Water Bottles?
You just received a shipment of 5,000 insulated bottles. Half leak after one week. Your customer demands a refund. You lose $50,000 and your reputation takes a hit.
Three tests prevent this nightmare: leak tests verify seal integrity through hot water inversion, drop impact tests1 simulate real-world accidents from 1-meter heights, and thermal performance tests measure temperature retention over 12-24 hours. Quality suppliers conduct all three before shipment.
I learned this lesson the hard way three years ago. A client ordered custom insulated bottles for a corporate event. The supplier skipped proper testing. When attendees used the bottles, coffee leaked everywhere. The damage to my client's brand was immediate. I spent months rebuilding that relationship. Since then, I verify every supplier's testing protocols before placing orders.
Does Insulated Mean Leak Proof?
Your client expects both cold drinks and zero spills. You assume insulation guarantees leak protection. The first customer complaint proves you wrong. Sales drop fast.
No, insulated does not mean leak-proof. These are separate features requiring different technologies. A bottle can maintain excellent temperature control yet leak if seals fail. Both attributes need independent verification through specific tests.
Insulation technology focuses on thermal performance. Vacuum-sealed designs create an airless space between double walls. This vacuum prevents heat transfer through conduction. The absence of air molecules stops thermal energy movement. Temperature stays stable for hours. Some bottles use foam insulation instead. Both methods target one goal: maintaining drink temperature.
Leak-proof design addresses structural integrity. The lid must create a complete seal around the opening. Silicone rings provide 360-degree contact with the bottle mouth. Thread precision ensures tight closure. The materials must withstand pressure changes. Temperature fluctuations can expand or contract components. Poor quality materials lose their shape over time. The seal breaks down. Leaks start appearing.
Testing reveals the difference clearly. Fill a bottle with boiling water. Screw the lid tight. Wait five minutes. Touch the outside surface. If you feel heat, the insulation failed. The vacuum seal broke during manufacturing. Now invert the same bottle. Shake it hard. Place it sideways for five minutes. If water appears, the leak-proof feature failed. The lid seal or threading has problems.
I inspect both features separately when evaluating suppliers. Last month, I tested samples from three manufacturers. One had perfect insulation but leaked from the lid. Another stayed leak-proof but lost temperature in three hours. Only the third passed both tests. That's the supplier I chose.
| Test Type | What It Checks | Pass Criteria |
|---|---|---|
| Insulation Test | Temperature retention | No heat felt on exterior after 5 minutes |
| Leak Test (Cold) | Seal integrity at room temp | No water escapes when inverted |
| Leak Test (Hot) | Seal performance under heat | No leaks with boiling water |
| Pressure Test | High-pressure environments | No leaks after dishwasher cycle |
Are Thermos Water Bottles Leak Proof?
You see "thermos" on the label and assume total leak protection. Your warehouse stores 10,000 units horizontally. Next week, you find water damage on dozens of cartons. The cleanup costs thousands.
Thermos water bottles are not automatically leak-proof. The term "thermos" describes insulation capability only. Leak-proof performance depends on lid design, seal quality, and manufacturing precision. You must verify these features through testing.
The confusion comes from marketing language. Manufacturers use "thermos" to indicate vacuum insulation technology. This technology keeps drinks hot for 12 hours or cold for 24 hours. The double-wall construction with vacuum between layers achieves this. But this says nothing about leak prevention.
Leak-proof capability requires specific design elements. High-quality bottles use food-grade silicone2 for lid seals. This material maintains flexibility across temperature ranges. It doesn't harden in cold weather or soften in heat. The seal ring sits in a precision-cut groove. The groove depth and width must match the ring exactly. Even 0.1mm deviation causes leaks.
Thread design matters enormously. Premium bottles feature multi-thread patterns. These threads distribute pressure evenly when you screw the lid. Single-thread designs create pressure points. These points wear out faster. The seal breaks down. Some manufacturers use flip-top lids with locking mechanisms. These prevent accidental opening during transport or use.
I conduct a simple test for every new supplier. I fill bottles with hot water colored with food dye. This makes any leak visible immediately. I seal the bottles and place them in different positions: upright, inverted, sideways, tilted at 45 degrees. I leave them for 24 hours. I also shake them vigorously 50 times. Any trace of colored water means rejection.
The materials used in lid construction affect leak performance too. Some suppliers use recycled plastic to cut costs. This plastic becomes brittle over time. Temperature changes accelerate degradation. The lid cracks develop. Leaks follow. BPA-free, food-grade plastics maintain structural stability. They cost more but prevent failures.
Drop tests reveal lid seal quality under impact. I drop filled bottles from 1.2 meters onto hard surfaces. The lid should stay sealed. The bottle should show no cracks. The seal ring should remain in place. Many cheap bottles fail this test. The impact jars the lid loose or damages the threading.
How to Choose an Insulated Water Bottle?
Your buyer needs bottles for a major retail chain. You have five supplier quotes. Prices vary by 40%. You can't tell which offers real value. One wrong choice costs you the contract.
Choose insulated water bottles by verifying three core features: material grade (18/8 stainless steel minimum), complete testing documentation (thermal, leak, and drop tests), and certified food-safe accessories (BPA-free lids3, medical-grade silicone seals). Request test reports and samples before committing.
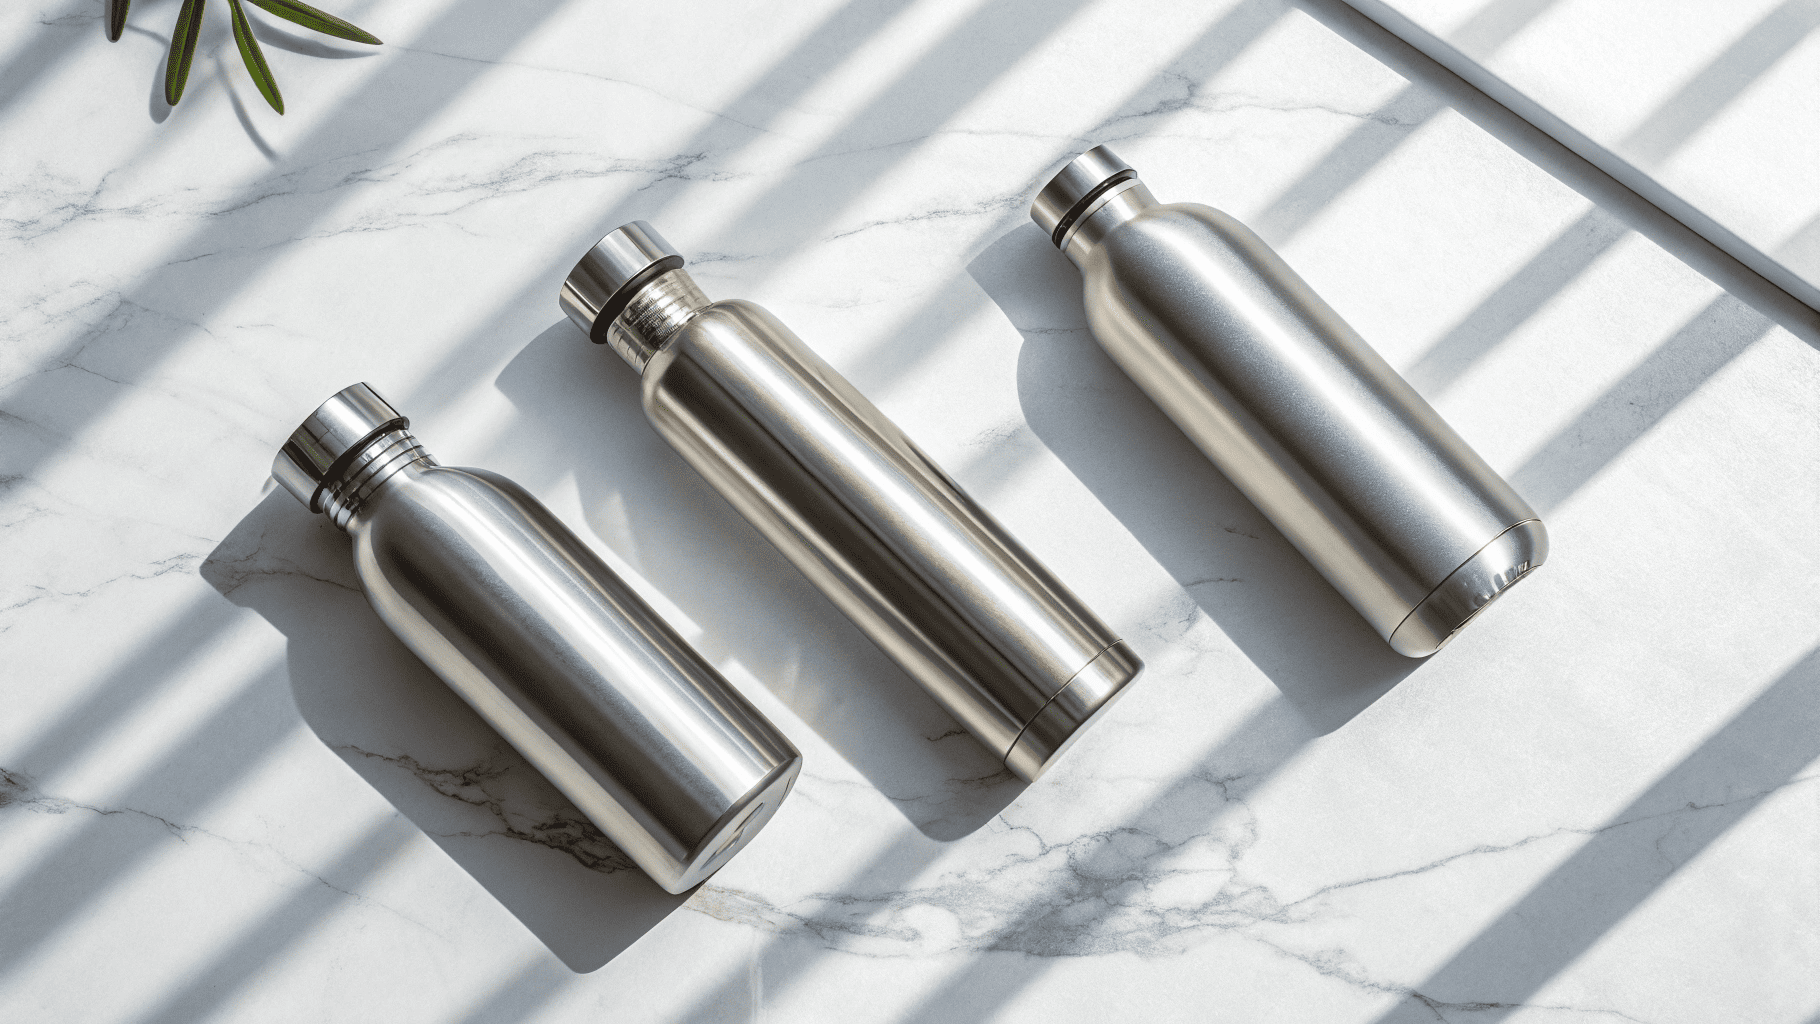
Start with material verification. Stainless steel comes in many grades. The 18/8 specification means 18% chromium and 8% nickel content. This composition resists rust and corrosion. It's safe for acidic drinks like orange juice or sports drinks. Lower grades react with acids. They affect taste and potentially release harmful substances. I always request material certificates from suppliers. These documents prove the steel grade.
Surface finish indicates manufacturing quality. Run your hand along the inside. You should feel smooth, uniform polishing. Rough spots or ridges suggest poor quality control. Check the bottle mouth edge carefully. It should be rounded and smooth. Sharp edges hurt your lips. They also indicate rushed production. The outer surface should show consistent coating. Look for pinholes, scratches, or uneven coverage. These defects let moisture reach the steel underneath. Rust starts forming.
Welding quality affects both insulation and durability. Most bottles have a welded bottom. This weld must be smooth and complete. Poor welding creates gaps. These gaps break the vacuum seal. The insulation fails. Examine the weld carefully. Use a magnifying glass if needed. Any visible gaps or inconsistent bead means rejection.
Test the lid mechanism thoroughly. Screw it on and off 50 times. It should move smoothly without catching or cross-threading. The seal ring should stay in its groove. Some cheap lids have loose-fitting rings. These fall out during use. Check if the lid has a locking feature for flip-top designs. Press the button or flip mechanism repeatedly. It should operate smoothly without sticking.
Request comprehensive test reports. Quality suppliers provide documentation for multiple tests. The heat retention test should show temperature measurements at 2, 4, 6, 12, and 24 hours. Cold retention tests should cover similar intervals. Leak tests should include both cold and hot water scenarios. Drop test reports should specify the height (minimum 1 meter) and number of drops (at least 6 from different angles).
I visited a supplier's factory last year to observe their testing procedures. They had dedicated equipment for each test. The thermal performance tester held 50 bottles simultaneously. Temperature sensors measured each bottle every hour. The drop test station used a mechanical arm for consistent results. The leak test involved high-pressure chambers simulating dishwasher conditions. Seeing this equipment convinced me of their commitment to quality.
Volume selection depends on your target market. Office workers prefer 500-750ml sizes. They fit in cup holders and desk spaces. Athletes and outdoor enthusiasts need 1000ml or larger. Consider the weight when filled. A 1500ml stainless steel bottle weighs over 1.5kg when full. Some users find this too heavy for daily carry.
Accessory compatibility adds value. Can the bottle accept different lid types? Some manufacturers offer interchangeable lids4: screw caps, flip tops, straw lids, handles. This flexibility appeals to retailers. They can offer variety without managing multiple bottle designs. Check if spare parts are available. Customers appreciate being able to replace a worn seal ring without buying a new bottle.
Price comparison requires careful analysis. The cheapest option usually has hidden costs. I calculate the total cost of ownership. This includes the initial price, defect rate, and potential returns. A bottle costing $8 with a 5% defect rate actually costs $8.40 per good unit. A $10 bottle with 0.5% defects costs $10.05 per good unit. The higher initial price delivers better value.
| Selection Criteria | What to Check | Quality Indicator |
|---|---|---|
| Material | Steel grade marking | 18/8 or 304 stainless steel |
| Insulation | Temperature after 5 min | No heat on exterior |
| Leak Test | Inversion test | Zero water escape |
| Surface | Polish uniformity | Smooth, defect-free |
| Welding | Bottom seam | Invisible, smooth weld |
| Lid Seal | Silicone ring fit | Stays in groove |
| Drop Test | 1m fall test | No damage, no leaks |
Conclusion
Quality insulated bottles need three verified features: proven thermal performance through temperature testing, leak-proof design confirmed by inversion tests, and structural durability validated by drop impact tests.
-
Learn about drop impact tests to ensure your bottles can withstand real-world accidents and maintain quality. ↩
-
Learn why food-grade silicone is essential for safety and durability in bottle seals. ↩
-
Explore the importance of BPA-free lids for health and safety in beverage containers. ↩
-
Explore how interchangeable lids add versatility and appeal to your product offerings. ↩