
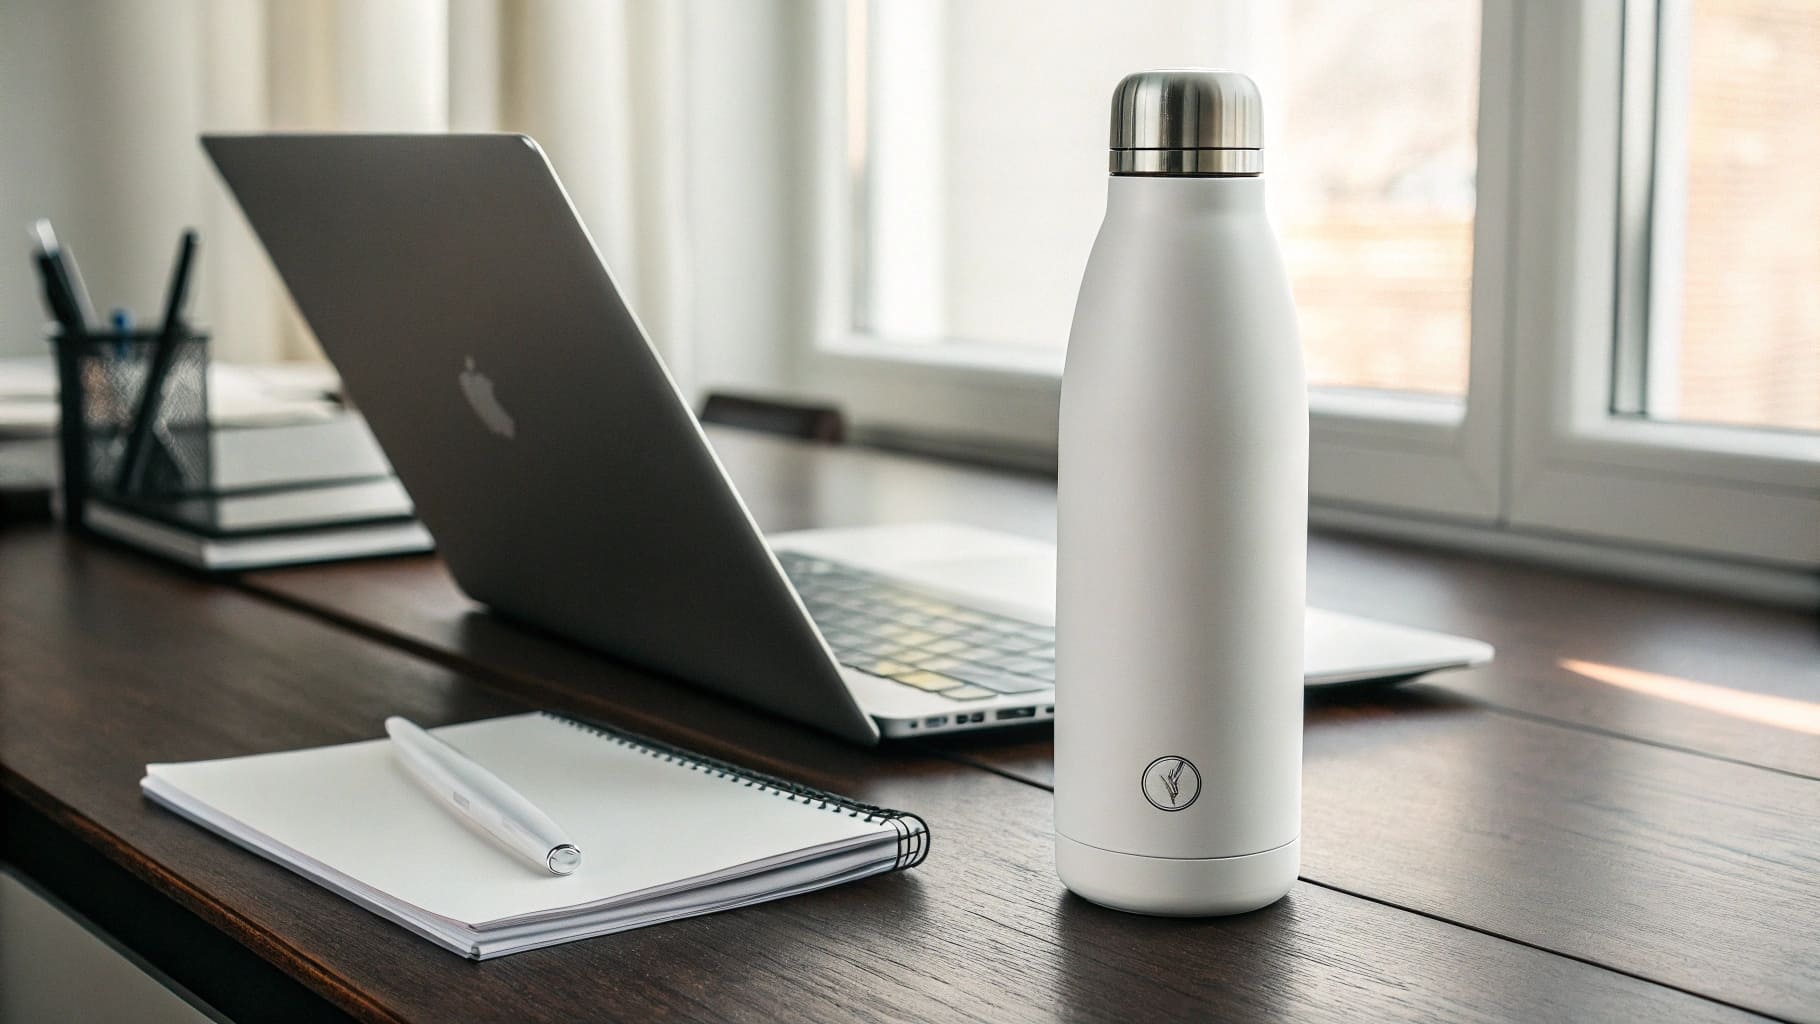
Is your trusty insulated bottle starting to smell a bit off? Worried about hidden grime affecting your drink's taste? This guide makes cleaning your insulated steel bottle incredibly simple and effective.
Cleaning your insulated steel bottle is easy. For daily washing, warm, soapy water does the trick. For stubborn stains or odors, baking soda or vinegar solutions work best, keeping it fresh and hygienic.
Keeping your bottle clean is easy. It makes sure your drinks always taste great. As a supplier with Icobottle, I often get questions from my B2B clients, like Mark Shenng from Canada who purchases stainless steel water bottles in bulk. They want to provide the best care instructions to their end-users because it directly impacts customer satisfaction and the perception of product quality. When their customers know how to properly maintain their bottles, it reflects well on the brand. Now, let's explore more specific cleaning methods.
How do you clean stainless steel insulated bottles?
Is that old coffee taste still lingering and ruining your fresh water? Worried about bacteria building up inside? Don't worry, simple steps can restore your bottle's original freshness.
To clean stainless steel insulated bottles, use warm water and a bit of dish soap for your daily wash. For a more thorough deep clean, a paste of baking soda and water or a soak in diluted vinegar works wonders. Always remember to rinse it well and let it air dry.
It's really important to clean your stainless steel insulated bottle regularly. This helps make sure your drinks always taste fresh. It also stops any unwanted bacteria from growing inside. I always tell my clients that providing clear cleaning instructions is a simple way to add value for their customers.
Daily Cleaning Routine
For everyday cleaning, you don't need much.
- What you'll need: A little mild dish soap, warm water, and a bottle brush if you have one. A brush with a long handle is great for reaching the bottom of taller bottles.
- The Steps: First, give the bottle a quick rinse with warm water to remove any loose particles. Then, add a drop or two of dish soap and fill it about halfway with warm water. Screw the lid on and give it a good shake. If you have a bottle brush, use it to scrub the inside walls and the bottom. Pay attention to the neck and threads where residue can build up. Don't forget to clean the lid too, especially any nooks or crannies in the cap. Finally, rinse everything very well with clean water until all the soap is gone.
Deep Cleaning Methods
Sometimes, a daily wash isn't enough, especially if you've left a drink in there for too long or if you notice an odor.
- Baking Soda Power: Baking soda is fantastic for getting rid of stubborn stains and smells, like those from coffee or tea. You can make a paste by mixing a few tablespoons of baking soda with a little water. Spread this paste inside the bottle, let it sit for about 15 to 30 minutes, then scrub with a bottle brush and rinse thoroughly. Alternatively, you can add two or three tablespoons of baking soda to the bottle, fill it with hot water, and let it soak overnight. Wash it out the next morning.
- Vinegar Solution: White vinegar is a natural disinfectant and can help break down mineral deposits. Mix one part white vinegar with about four parts warm water. Fill the bottle with this solution, screw on the lid, and let it soak for a few hours or even overnight. After soaking, pour out the vinegar solution and wash the bottle very well with soap and warm water to remove any lingering vinegar smell. Then rinse thoroughly.
What to Avoid When Cleaning
To keep your bottle in top shape:
- Avoid Harsh Chemicals: Steer clear of bleach or cleaners containing chlorine. These can damage the stainless steel and leave behind harmful residues.
- No Abrasive Scrubbers: Steel wool or very harsh scouring pads can scratch the inside of your bottle. A soft bottle brush or cloth is usually best.
- Dishwasher Caution: Many insulated stainless steel bottles are not dishwasher safe. The high heat can damage the vacuum seal that keeps them insulated, or it can affect the exterior paint or finish. I always advise my wholesale clients to confirm if their specific bottle models are dishwasher safe before recommending it to their customers. Handwashing is generally the safest bet.
Always let your bottle and lid air dry completely before storing them. Turning the bottle upside down on a drying rack with the lid off works well.
How do you clean a steel feeding bottle?
When it comes to your baby, their health and safety are the top priority. Steel feeding bottles are a durable and safe option, but how do you ensure they're perfectly clean and hygienic for your little one?
Clean steel feeding bottles right after every use. Take them apart and wash all the pieces – bottle, nipple, collar, and cap – with hot, soapy water and a good bottle brush. It's also very important to sterilize them regularly, either by boiling or using a special baby bottle sterilizer. This keeps them safe for your baby.

Cleaning a baby's steel feeding bottle needs extra attention because babies have delicate immune systems. Any leftover milk residue can quickly become a breeding ground for bacteria. As a supplier of stainless steel products, including items that could be used for baby products, I know that hygiene is absolutely critical. Businesses that buy feeding bottles from us, for instance, need to be confident that their customers can maintain the highest hygiene standards.
Immediate Post-Feed Cleaning
It's best to clean the feeding bottle as soon as possible after your baby has finished feeding.
- Why it’s crucial: Milk, whether it's breast milk or formula, contains sugars and fats that bacteria love. The longer it sits, the harder it is to clean thoroughly.
- First Step: Disassemble the bottle completely. This means separating the bottle itself, the nipple, the collar or ring that holds the nipple, and any cap or cover. Rinse each part under cool running water first. Using cool water initially helps prevent milk proteins from sticking to the bottle components; hot water can sometimes "cook" them on.
Washing Thoroughly
Once rinsed, it's time for a proper wash.
- Soap and Water: Use hot water and a mild, preferably baby-safe, dish soap. Avoid harsh detergents.
- Use the Right Tools: A dedicated bottle brush is essential for cleaning the inside of the steel bottle. You'll also need a smaller nipple brush to clean the inside of the nipple and ensure the feeding hole is clear. Scrub all parts carefully, paying attention to threads and crevices where milk can get trapped.
- Clean the Nipple: Squeeze hot, soapy water through the nipple hole a few times to dislodge any residue.
- Rinse Meticulously: After scrubbing, rinse every part thoroughly under hot, running water until no soap residue remains.
Sterilization: The Essential Step for Safety
Washing cleans the bottle parts, but sterilization is what kills any remaining harmful germs and bacteria.
- Why sterilize? This step is vital to protect your baby from infections.
- Boiling Method: This is a traditional and effective method. Place all the disassembled, washed bottle parts into a large pot. Make sure they are completely covered with water. Bring the water to a rolling boil and continue boiling for at least 5 minutes. Allow the water to cool before carefully removing the parts with clean tongs.
- Steam Sterilizers: Electric steam sterilizers or microwave steam sterilizers are very convenient and work by using hot steam to kill germs. Always follow the manufacturer's instructions for your specific sterilizer model.
- Cold Water Sterilizing Solution: You can also use special sterilizing tablets or liquids that are dissolved in cold water. The bottle parts are submerged in this solution for a specific amount of time (check the product instructions, usually 15-30 minutes). Make sure all parts are fully covered and no air bubbles are trapped.
For young babies, especially those under three months, or if your baby was premature or has a weakened immune system, it's recommended to sterilize feeding equipment after every use or at least once daily. Clear guidance on cleaning and sterilization is something I emphasize to my B2B clients who might be sourcing products for the infant market. It ensures their end-users feel confident and safe.
How do you take care of an insulated water bottle?
You love your insulated water bottle because it keeps your drinks hot or cold for hours, right? To make sure it continues to be your trusty hydration companion for many years, a few simple care habits are key.
Taking care of your insulated bottle mainly involves regular cleaning, as we've discussed. Also, try to avoid dropping it, as impacts can damage the insulation. Importantly, never put it in the freezer or microwave. When you store it, keep the lid off to prevent any unwanted odors from developing.
Good care goes beyond just cleaning; it's about maintaining the bottle's performance and appearance over time. When I talk to procurement officers like Mark Shenng, who looks for quality and value, I explain that a well-cared-for bottle reflects positively on the product's durability, which is a key selling point for their own customers in Canada.
Proper Drying and Storage for Longevity
How you dry and store your bottle makes a difference.
- Thorough Drying: After every wash, it’s important to let both the bottle and its lid air dry completely. The best way is to place the bottle upside down on a drying rack. Make sure the lid is also dried thoroughly, perhaps by leaving it open or disassembled if possible. Trapped moisture is the main cause of musty smells.
- Store with Lid Off: When your bottle is not in use for a while, store it with the lid off or loosely placed on top. This allows air to circulate inside, preventing any moisture buildup and the development of mildew or unpleasant odors. I've had clients tell me this simple tip has solved many "stinky bottle" issues for their customers.
Handling with Care to Protect Insulation
Your bottle's ability to insulate depends on its construction.
- Avoid Drops and Dents: Most insulated bottles, especially high-quality vacuum-insulated ones like those we produce at Icobottle, have a double-wall construction with a vacuum between the walls. A significant dent from a hard fall can compromise this vacuum seal, reducing or destroying its insulating properties. While stainless steel is robust, it's not indestructible.
- No Freezing Zone: Never put your insulated stainless steel bottle in the freezer. Water expands when it freezes. This expansion can exert immense pressure on the bottle walls, potentially warping the steel, breaking welds, or damaging the vacuum seal.
- Microwave is a No-Go: This should be obvious, but it’s worth repeating: metal objects, including your stainless steel bottle, should never be placed in a microwave oven. It’s dangerous and can damage both your bottle and your microwave.
Maintaining the Bottle's Finish
Many bottles come with attractive powder coatings or painted finishes.
- Gentle on the Outside: To keep the exterior looking good, avoid using abrasive cleaners or harsh scrubbing pads on painted or coated surfaces, as these can scratch or chip the finish. A gentle hand wash with a soft cloth or sponge is usually sufficient for the outside.
- For businesses that customize bottles with their logos, like many of my clients do, maintaining the bottle's appearance is important for brand visibility. Good care ensures the logo stays pristine for longer.
Checking Seals and Lids Regularly
The lid is crucial for a leak-proof experience.
- Inspect Gaskets: Most insulated bottle lids have silicone seals or gaskets to ensure they are watertight. Periodically, check these seals to make sure they are clean, properly seated, and not cracked or worn out. If the seal is removable, take it out carefully for a thorough cleaning now and then, as gunk can accumulate underneath.
By following these care tips, you not only keep your bottle hygienic but also extend its life, ensuring it performs optimally for years.
Conclusion
Cleaning and caring for your insulated steel bottle is really quite simple. Just follow these basic tips. Your bottle will stay fresh, hygienic, and continue to serve you well for a long time.