
Specifying polish grades on cups: brush, mirror, and fingerprint tests
I have seen many buyers struggle with polish specifications. Their samples look perfect, but production batches arrive with inconsistent finishes. This creates delays, disputes, and lost sales during peak seasons.
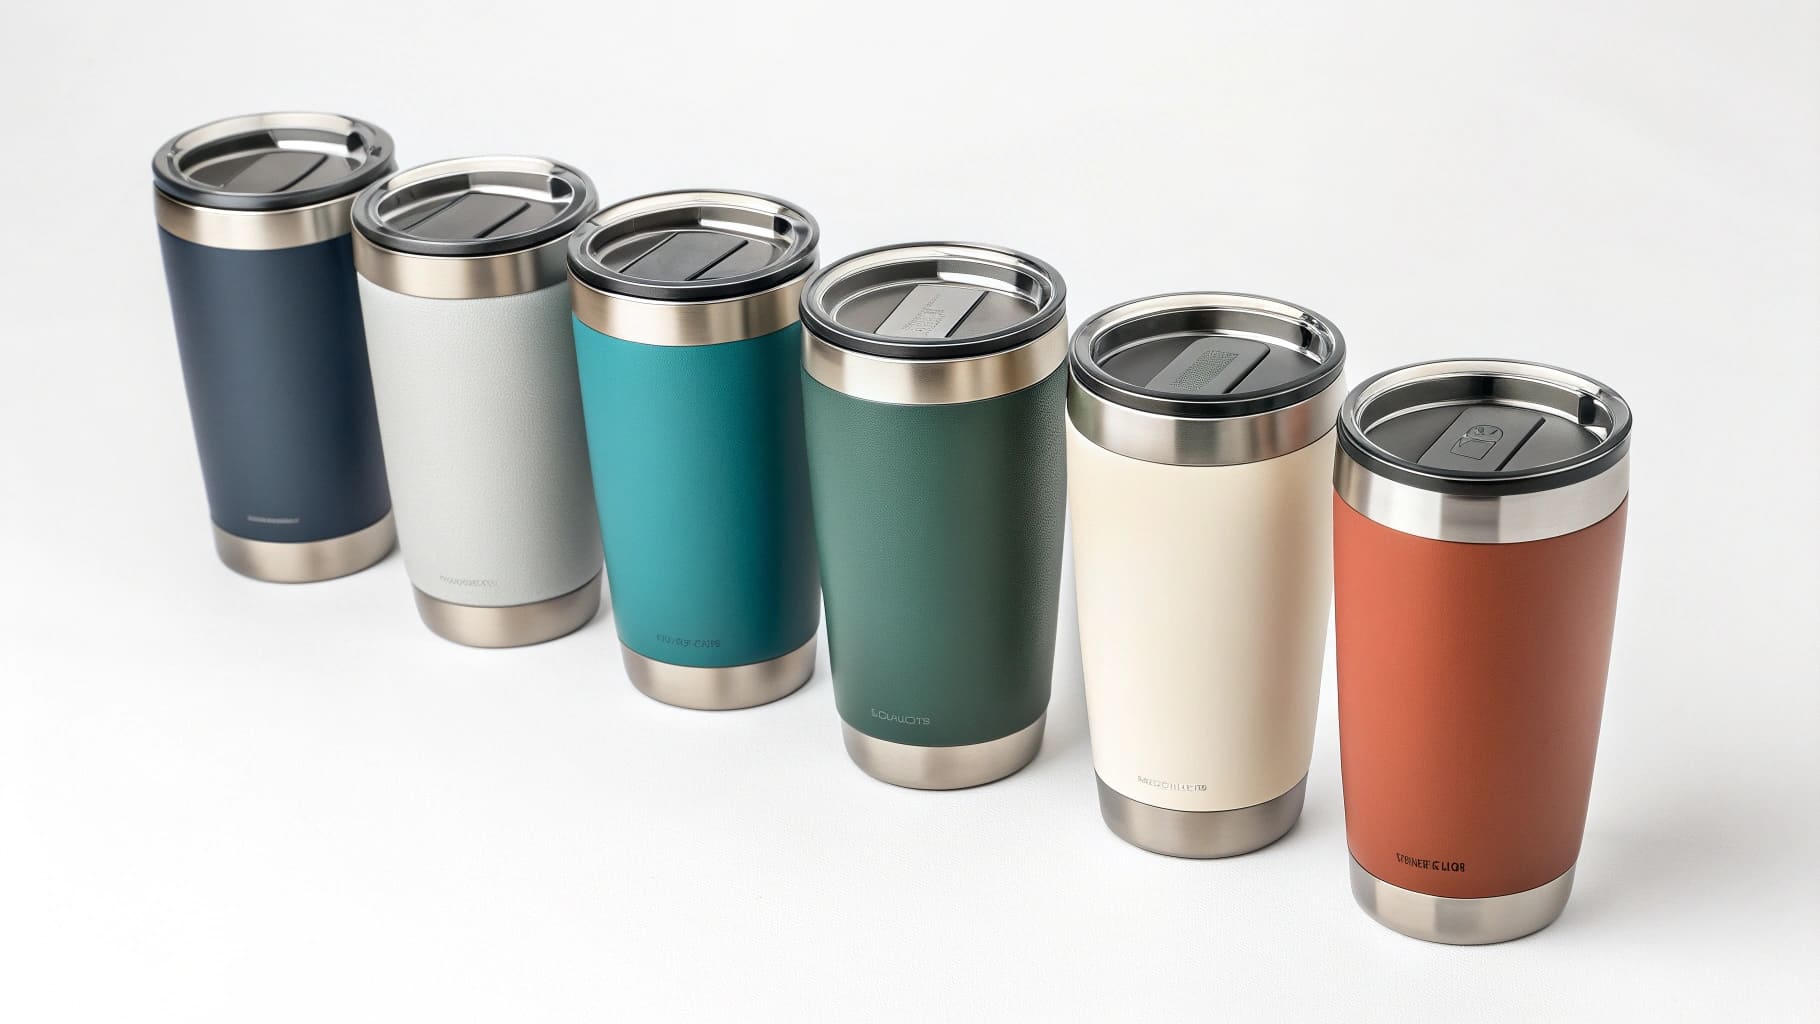
Polish grades determine how your stainless steel cups reflect light and resist fingerprints. Manufacturers use grit numbers and testing methods to define three main finishes: brushed, mirror, and anti-fingerprint. You must specify these clearly before production starts.

Last year, I worked with Mark, a Canadian distributor who ordered 10,000 mirror-finish water bottles. He approved photos but rejected the shipment when products arrived. The finish looked different under natural light compared to factory LED lighting. We learned to request physical samples and define exact testing standards in our purchase orders.
What Grit Is Needed for Mirror Polish?
Your factory needs multiple grit stages to create mirror finish. Single-step polishing never works for high-quality results. I see this mistake often with new suppliers who try to save processing time.
Mirror polish requires progression from 180 grit to 1200 grit or higher. Each stage removes scratches from the previous step. The final ultra-fine polishing creates the reflective surface you want for premium products.

The Complete Grit Progression Process
You cannot skip steps in mirror polishing. Each grit level serves a specific purpose in surface preparation.
The process starts with coarse grits that remove welding marks and deep scratches. Then medium grits smooth the surface texture. Finally, fine grits create the reflective finish.
| Grit Stage | Purpose | Typical Range |
|---|---|---|
| Initial Cut | Remove welding marks and deep scratches | 180-240 grit |
| Surface Smoothing | Eliminate coarse scratches | 320-400 grit |
| Pre-Polish | Create uniform surface | 600 grit |
| Final Polish | Achieve mirror reflection | 800-1200+ grit |
I always tell buyers to visit the factory floor during polishing. You can see if workers follow the complete progression or skip steps to save time. Manual polishing creates inconsistent results compared to automatic machines. But automatic equipment costs more, so smaller factories may not have it.
The steel grade also affects your final result. 304 stainless steel accepts mirror polish well for most applications. 316 steel with higher chromium content produces deeper reflection but costs 15-20% more. You need to balance your product positioning with manufacturing budget.
Temperature during polishing matters more than most buyers realize. Hot metal from welding needs cooling time before polishing starts. Rushing this step causes uneven reflection patterns that appear later. I learned this after rejecting a batch that looked perfect in the factory but showed defects after shipping.
How to Buff Brushed Stainless Steel?
Brushed finish uses directional abrasive movement to create parallel grain patterns. This texture hides fingerprints better than mirror polish. I recommend brushed finish1 for outdoor bottles and sports products where users handle them frequently.
Buffing brushed stainless steel requires consistent pressure and movement direction. The grain pattern must run uniformly across the entire surface. Inconsistent buffing creates visible patches that customers notice immediately.
Achieving Consistent Brushed Texture
You want uniform grain direction on every piece. This requires proper equipment setup and worker training.
Most factories use belt sanders or rotary brushes for initial grain creation. Then they use finer abrasive pads for the final texture. The grit for brushed finish typically ranges from 120 to 240, coarser than mirror polish requirements.
The key challenge is maintaining straight, parallel lines around curved bottle bodies. Automatic machines handle this better than hand buffing. But bottles with complex shapes or narrow necks may need manual finishing in certain areas.
I inspect brushed samples under bright light at different angles. Good brushed finish shows consistent grain spacing and depth. Poor quality has wavering lines, circular marks, or spots where grain direction changes. These defects become more visible when customers hold bottles under sunlight or store lighting.
Your workers need to buff in long, continuous strokes rather than short, choppy movements. Short strokes create overlapping patterns that look uneven. The abrasive material also wears down during use, so workers must replace belts or pads regularly to maintain consistent results.
Some buyers want hairline finish, which uses finer grits (320-400) for a more refined brushed look. This costs slightly more but appeals to customers who want subtle texture without rough feel. I use hairline finish for coffee mugs where people touch the rim area frequently.
How to Polish Brushed Stainless Steel to a Mirror Finish?
You can convert brushed to mirror, but I rarely recommend it for volume production. The economics do not make sense in most cases. Starting with proper surface preparation costs less than converting finished brushed products.
Converting brushed to mirror requires complete removal of the grain texture. This means aggressive cutting with medium grits before you can begin mirror polish progression. Labor hours increase significantly, and material waste goes up from the extra processing steps.
When Conversion Makes Sense
I have only recommended conversion in three situations. First, when you have overstock inventory of brushed products that are not selling. Second, when a customer changes specifications mid-production and accepts the extra cost. Third, when making small prototype batches before committing to large orders.
The conversion process starts by removing all directional grain patterns. You use 240-320 grit to cut away the brushed texture completely. This step takes longer than initial surface preparation because the grain grooves are deeper than typical surface scratches.
After grain removal, you follow the standard mirror polish progression I described earlier. But the surface requires more passes at each grit stage because the starting condition is rougher. Quality control becomes critical because any remaining grain pattern will show through the final mirror finish.
I tested conversion costs with three different suppliers last year. The cheapest quoted 40% extra cost per unit. The highest was 85% more expensive. These numbers do not include the risk of quality issues from incomplete grain removal.
Here is what you should know about the process:
| Conversion Step | Time Impact | Risk Level |
|---|---|---|
| Grain Removal | 2-3x normal prep | High - incomplete removal shows in final finish |
| Surface Leveling | 1.5x normal smoothing | Medium - uneven areas catch light differently |
| Mirror Polishing | Standard time | Low - same as normal mirror process |
| Quality Inspection | 2x normal checking | High - defects appear after delivery |
The biggest issue is inconsistency between pieces in the same batch. Some areas may retain faint grain shadows that only become visible under certain lighting. I always request test samples of converted pieces under multiple light sources before approving full production.
Factories with advanced polishing equipment handle conversion better than those using primarily manual methods. But even the best facilities charge premium prices because the process cannot be rushed without quality problems.
Conclusion
Specify polish grades with exact grit numbers, testing methods, and physical samples. This prevents costly production disputes and ensures your customers receive consistent quality in every order.
-
Explore the process of creating a brushed finish that effectively hides fingerprints. ↩