
How to spec vacuum insulated bottles: 304/316, AQL, and FOB costs in RFQs?
Sourcing vacuum bottles overseas feels like navigating a minefield. Wrong material specs can ruin your brand. Vague RFQs lead to unexpected costs and quality disasters.
When preparing your RFQ for vacuum insulated bottles, specify three key elements: stainless steel grade for inner and outer walls, AQL levels1 for defect acceptance, and expected FOB cost range. Clear material specifications ensure product safety, while defined AQL standards protect your quality expectations before shipment.
I have seen many procurement officers struggle with their first vacuum bottle orders. They send vague inquiries and receive quotes that vary wildly in price and quality. The confusion often stems from not understanding what to specify in their RFQs. This guide walks you through the technical specifications that matter most when sourcing vacuum insulated bottles from Chinese manufacturers.
How to design a vacuum flask?
Your design choices directly impact manufacturing costs and product performance. Many buyers focus on aesthetics but miss critical functional specifications that determine bottle quality.
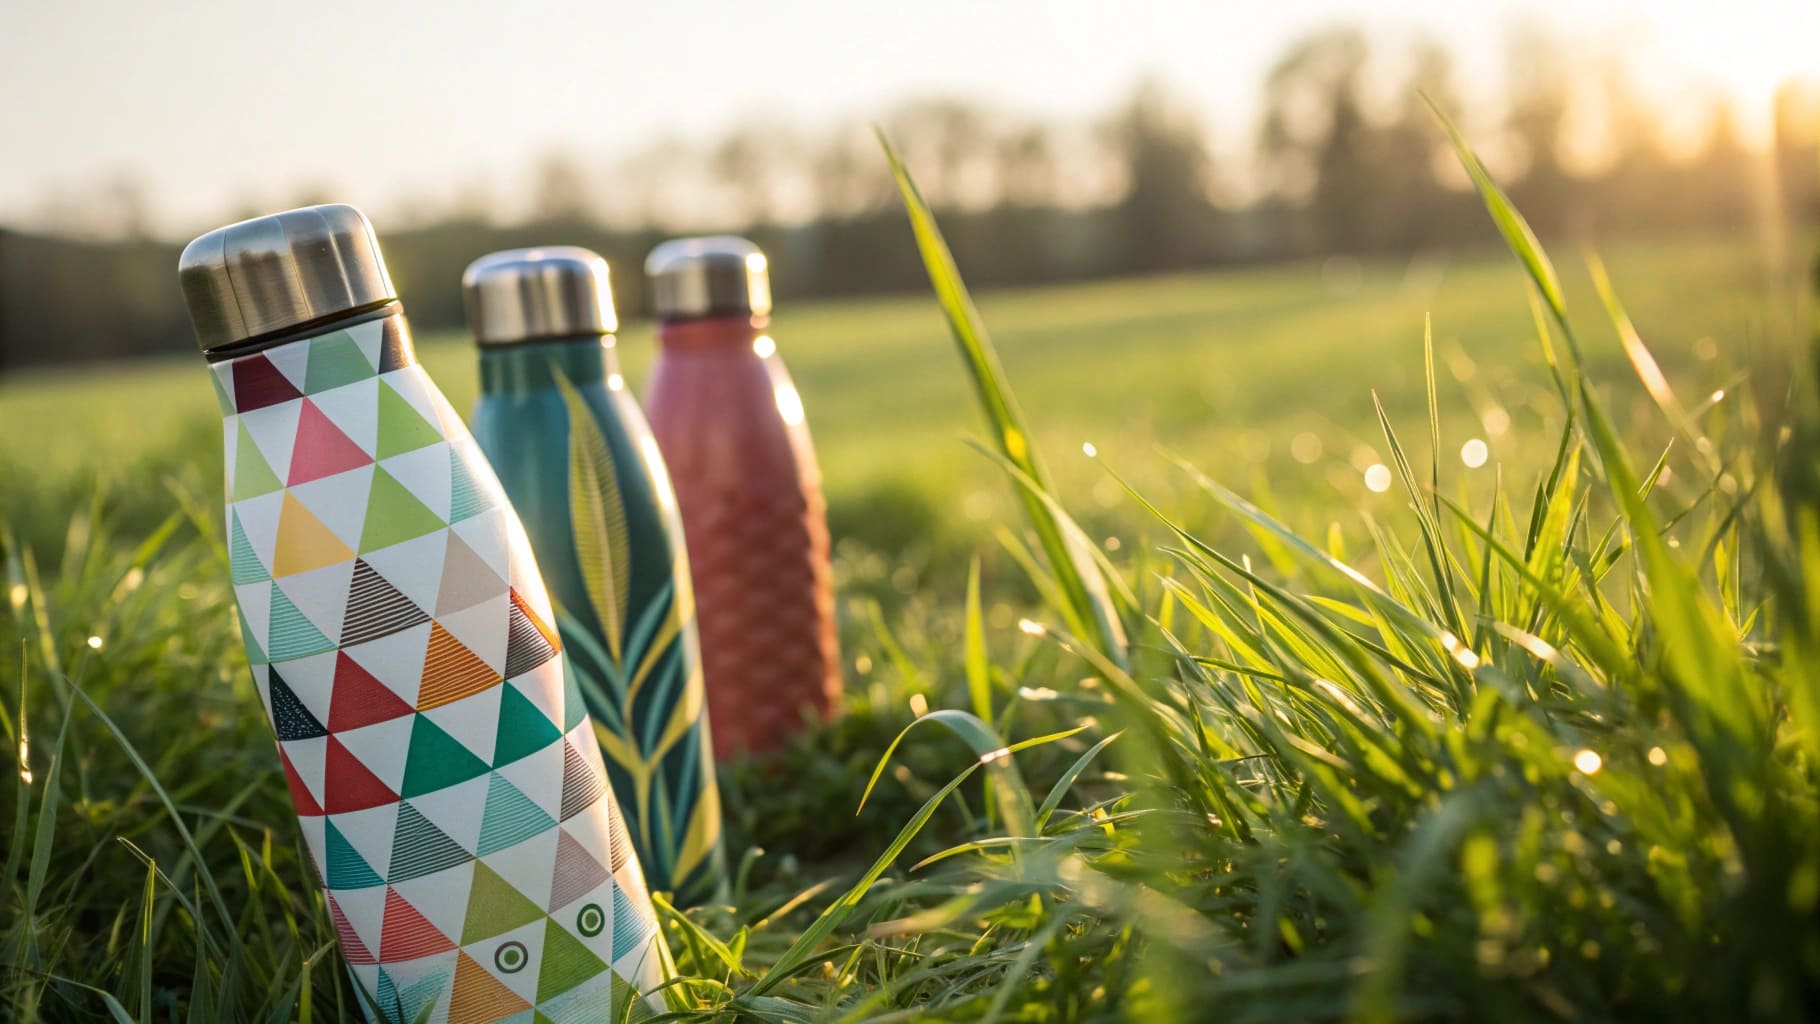
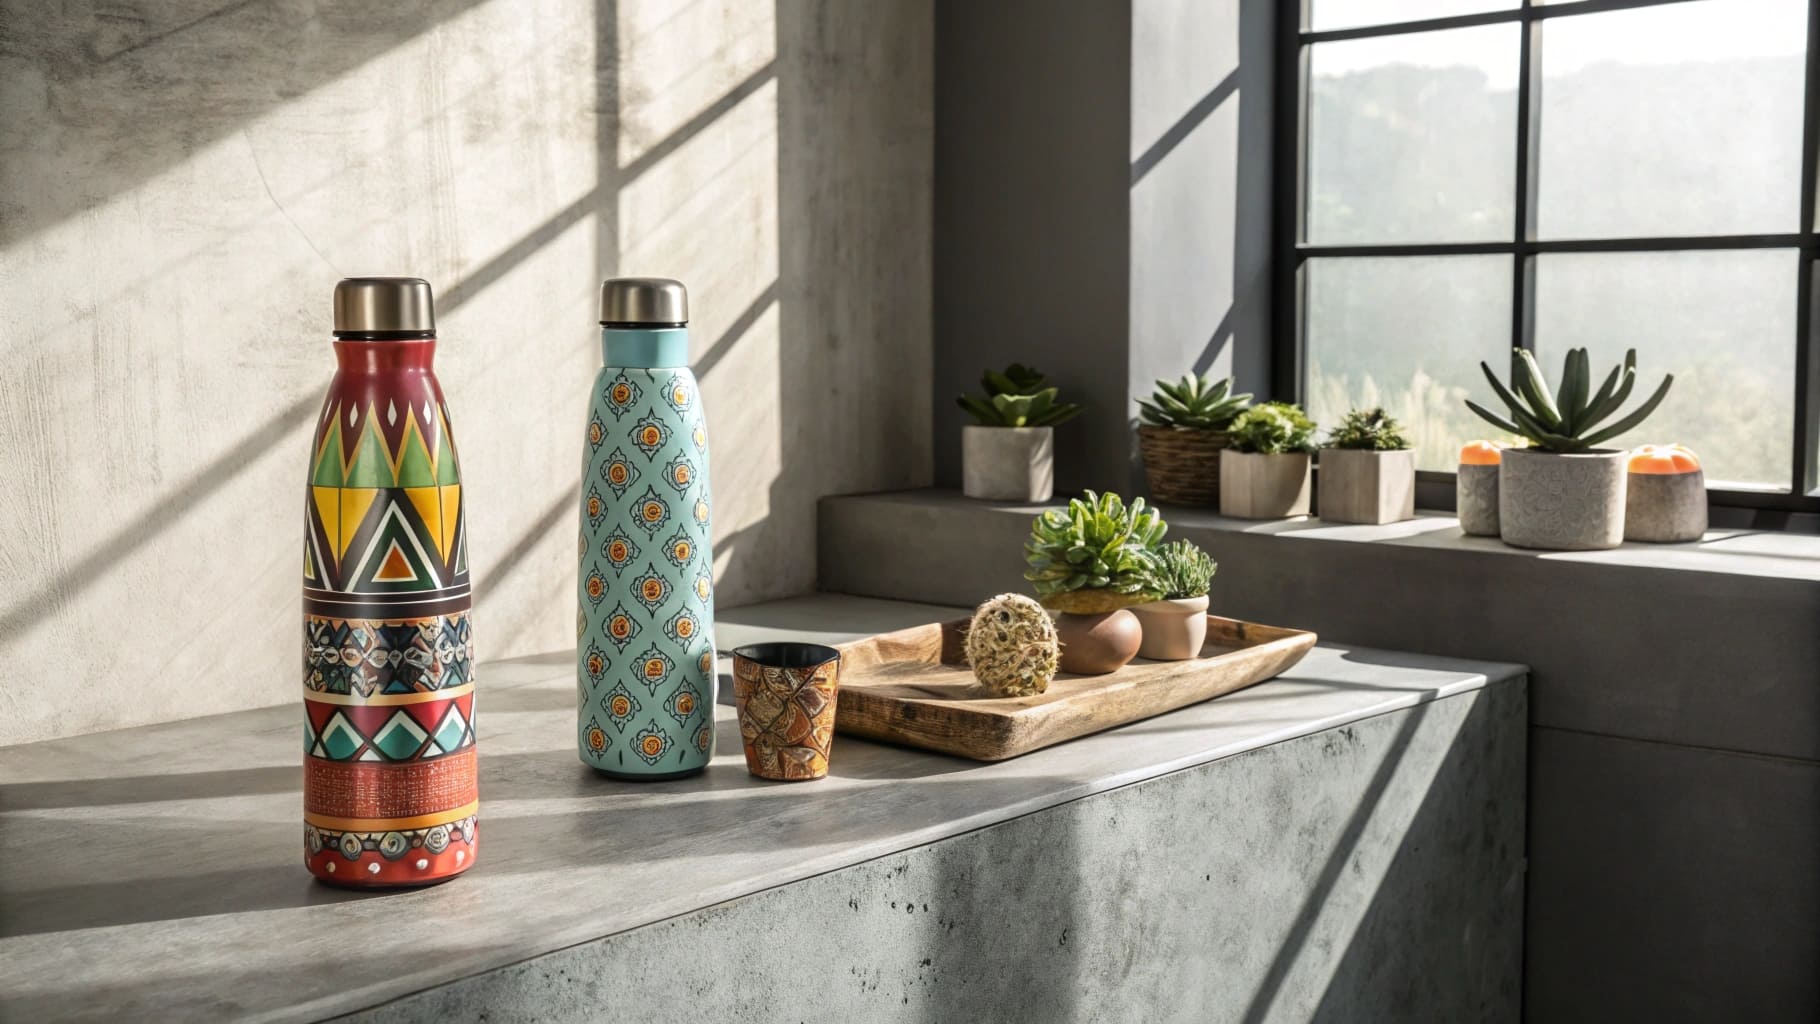
Design specifications for vacuum flasks include material grade selection2, capacity range, insulation structure, lid type, and surface finish requirements. Your inner wall should use 304 stainless steel for food safety, while outer wall material choice affects your FOB pricing and market positioning.

When I work with clients on their first custom vacuum bottle project, I always start with material selection. The inner wall must be 304 stainless steel3. This is non-negotiable for food contact safety. The composition includes chromium content greater than 18% and nickel content greater than 8%. We call it 18/8 stainless steel in the industry.
For the outer wall, you have options. Premium positioning uses 304 stainless steel for both walls. Mid-range products can use food-grade 201 stainless steel on the outer wall. This cuts your FOB cost by about 15-20% per unit. The choice depends on your target market and price point.
| Design Element | Premium Option | Budget Option | FOB Impact |
|---|---|---|---|
| Inner Wall | 304 Steel | 304 Steel | Fixed Cost |
| Outer Wall | 304 Steel | 201 Steel | -15% to -20% |
| Lid Material | 304 Steel + PP | PP Only | -10% to -12% |
| Finish | Powder Coating | Simple Paint | -5% to -8% |
The vacuum structure matters just as much as material grade. Triple-layered vacuum insulation performs better than double-layered designs. Your specification should state vacuum pressure requirements. Standard vacuum flasks maintain pressure below 0.005 Pa. This ensures beverages stay cold for 24 hours and hot for 12 hours.
Lid design affects both cost and user experience. Screw caps cost less but seal less effectively. Flip lids with silicone gaskets provide better insulation but add to your unit cost. Sport caps with straw mechanisms are popular but require more complex tooling. Each lid type changes your MOQ and tooling investment.
How are vacuum insulated bottles made?
Understanding the manufacturing process helps you evaluate supplier capabilities. Production complexity explains why quality vacuum bottles command higher prices than simple single-wall bottles.
Vacuum bottle manufacturing involves inner and outer shell stamping, vacuum chamber creation, copper plating4 for heat reflection, vacuum pumping to remove air, leak testing, and surface finishing. Each step requires specialized equipment and skilled operators to maintain consistent quality across production runs.
The process starts with stainless steel coil material. Suppliers cut coils into circular blanks based on your bottle diameter. Hydraulic presses stamp these blanks into cylindrical shapes for inner and outer shells. Good manufacturers use progressive dies that form the shape in multiple stages. This reduces material stress and prevents cracking.
Next comes the critical vacuum creation step. Workers weld the inner shell to the outer shell at the bottom, creating a sealed chamber between the two layers. Before final sealing, manufacturers apply copper plating inside this chamber. The copper reflects heat radiation, significantly improving insulation performance. Then they pump out air through a small opening at the bottle bottom.
This vacuum pumping stage separates quality manufacturers from mediocre ones. Professional vacuum pumps reduce air pressure to below 0.005 Pa. Cheaper manufacturers might only reach 0.01 Pa. That difference of 0.005 Pa dramatically affects temperature retention. After pumping, workers seal the small opening with a solder cap and polish it smooth.
Quality control happens at multiple checkpoints. Incoming material inspection verifies steel grade and thickness. In-process checks monitor stamping accuracy and welding quality5. Finished bottle testing includes vacuum leak detection and temperature retention validation. I recommend asking suppliers about their testing equipment6. Reliable manufacturers own helium leak detectors and automated temperature retention chambers.
| Production Stage | Key Equipment | Quality Check | Defect Impact |
|---|---|---|---|
| Material Cutting | CNC Cutting Machine | Thickness Measurement | Minor |
| Shell Stamping | Hydraulic Press | Dimension Check | Moderate |
| Vacuum Creation | Vacuum Pump | Leak Testing | Critical |
| Temperature Test | Retention Chamber | Performance Validation | Critical |
Production capacity matters for B2B orders. Ask about the number of production lines and daily output. A factory with five automated lines can produce 15,000 to 20,000 bottles daily. This capacity ensures they can handle your order volume and meet delivery deadlines. Smaller workshops might quote lower prices but lack the capacity to scale with your business growth.
How to know a good vacuum flask?
Evaluating vacuum flask quality before placing large orders protects your investment and brand reputation. Physical inspection combined with documentation review gives you the complete quality picture.
Good vacuum flasks demonstrate consistent temperature retention, show no vacuum leakage, use certified food-grade materials, display smooth welding with no sharp edges, and maintain structural integrity under pressure testing. Request test reports and certifications to verify these performance standards before finalizing your order.

I always tell clients to request samples before placing production orders. Testing samples reveals quality issues that photos cannot show. Fill the sample with ice water and measure temperature after 24 hours. The water should remain below 10 degrees Celsius. For hot water testing, fill with boiling water and check after 12 hours. Temperature should stay above 50 degrees Celsius.
Visual inspection catches manufacturing defects. Check the bottle exterior for dents, scratches, or uneven coating. Examine welding seams carefully. Poor welding shows visible gaps or rough edges that can cut users. Shake the bottle near your ear. Any rattling sound indicates the inner shell has detached from the outer shell. This happens when vacuum creation fails.
Documentation verification protects you from material fraud. Request third-party test reports for stainless steel composition. The report should confirm chromium and nickel content meet 304 grade standards. Ask for FDA or LFGB certificates if you sell in the US or European markets. Some suppliers show fake certificates. Verify certificate numbers directly with the issuing laboratory.
AQL specification in your RFQ establishes acceptable defect rates. I recommend AQL 1.5 for major defects and AQL 2.5 for minor defects. Major defects include vacuum failure, liquid leakage, and sharp edges. Minor defects cover small scratches, slight color variations, and packaging issues. Clear AQL levels give you leverage if quality problems arise during production.
| Quality Indicator | Test Method | Acceptable Standard | Rejection Trigger |
|---|---|---|---|
| Temperature Retention | Ice Water 24h | Below 10°C | Above 15°C |
| Vacuum Integrity | Shake Test | No Sound | Rattling Present |
| Material Grade | Lab Analysis | 304 Composition | Below 18% Cr |
| Surface Quality | Visual Check | AQL 2.5 | Visible Dents |
FOB cost negotiation requires understanding what drives pricing. Material grade accounts for 40% of total cost. Vacuum insulation technology adds 25%. Surface finishing and customization represent 20%. The remaining 15% covers packaging, quality control, and profit margin. When suppliers quote significantly below market rates, question which corners they are cutting. Usually it involves inferior materials or skipped quality checks.
I have worked with buyers who chose the cheapest quote only to receive bottles that leaked or lost temperature retention within weeks. The cost of returns, customer complaints, and brand damage far exceeded the initial savings. Invest in quality verification upfront rather than dealing with disasters after delivery.
Conclusion
Successful vacuum bottle sourcing combines clear RFQ specifications, thorough supplier evaluation, and rigorous quality standards. Master these technical details to protect your investment and build lasting supplier relationships.
-
Understanding AQL levels can help you set quality expectations and avoid costly defects. ↩
-
Material grade selection impacts safety and performance; find out why it matters. ↩
-
Explore the advantages of 304 stainless steel for food safety and durability in vacuum bottles. ↩
-
Understand how copper plating improves insulation performance in vacuum bottles. ↩
-
Learn about the importance of welding quality for product safety and durability. ↩
-
Discover the testing equipment that ensures quality and performance in production. ↩