
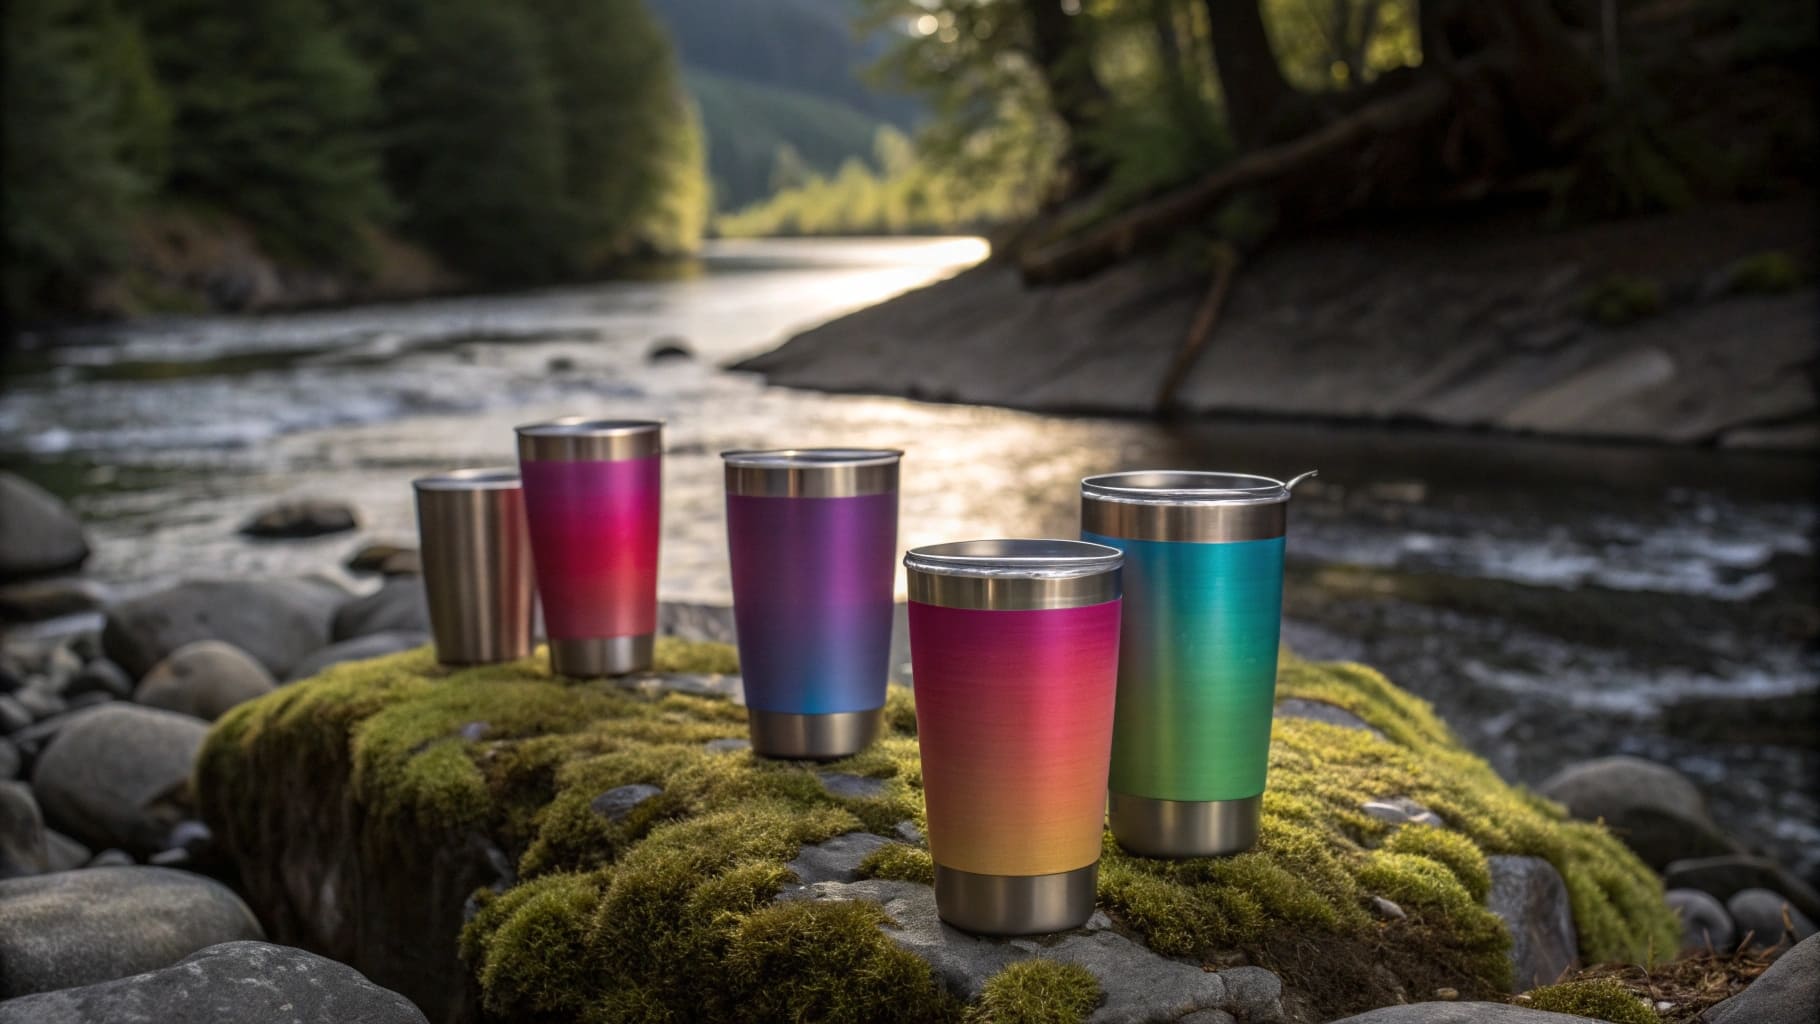
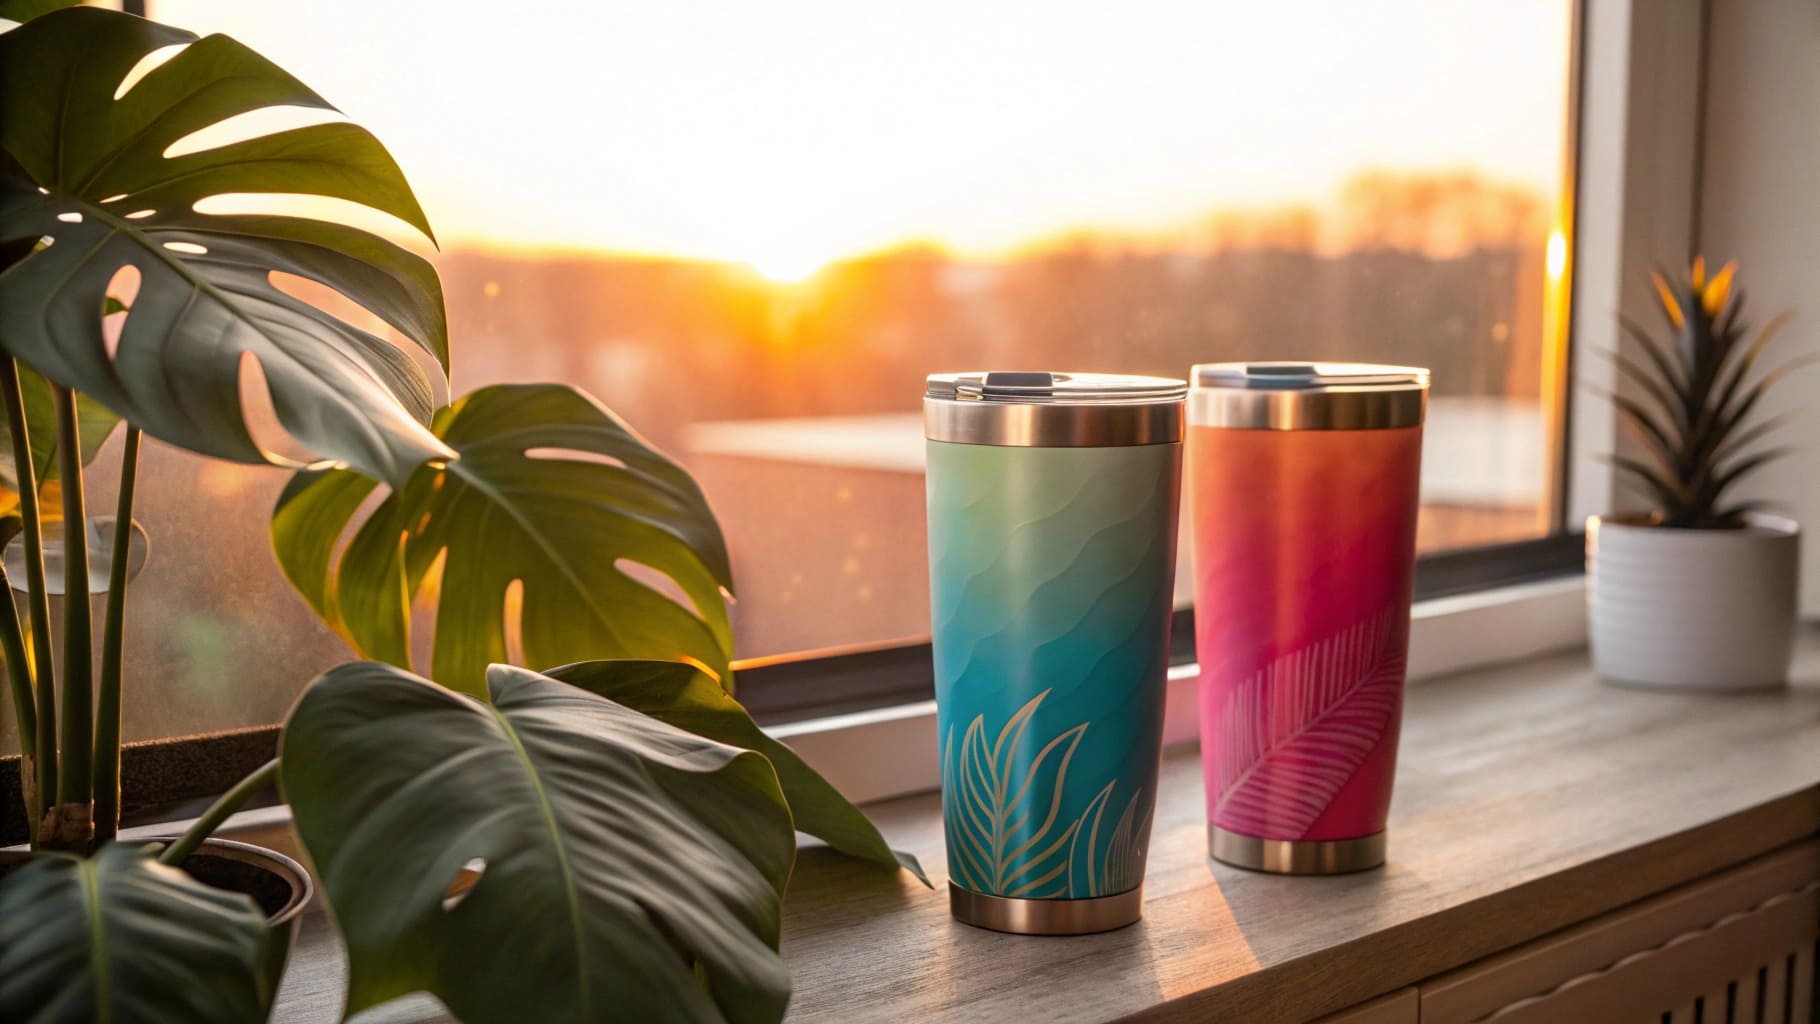
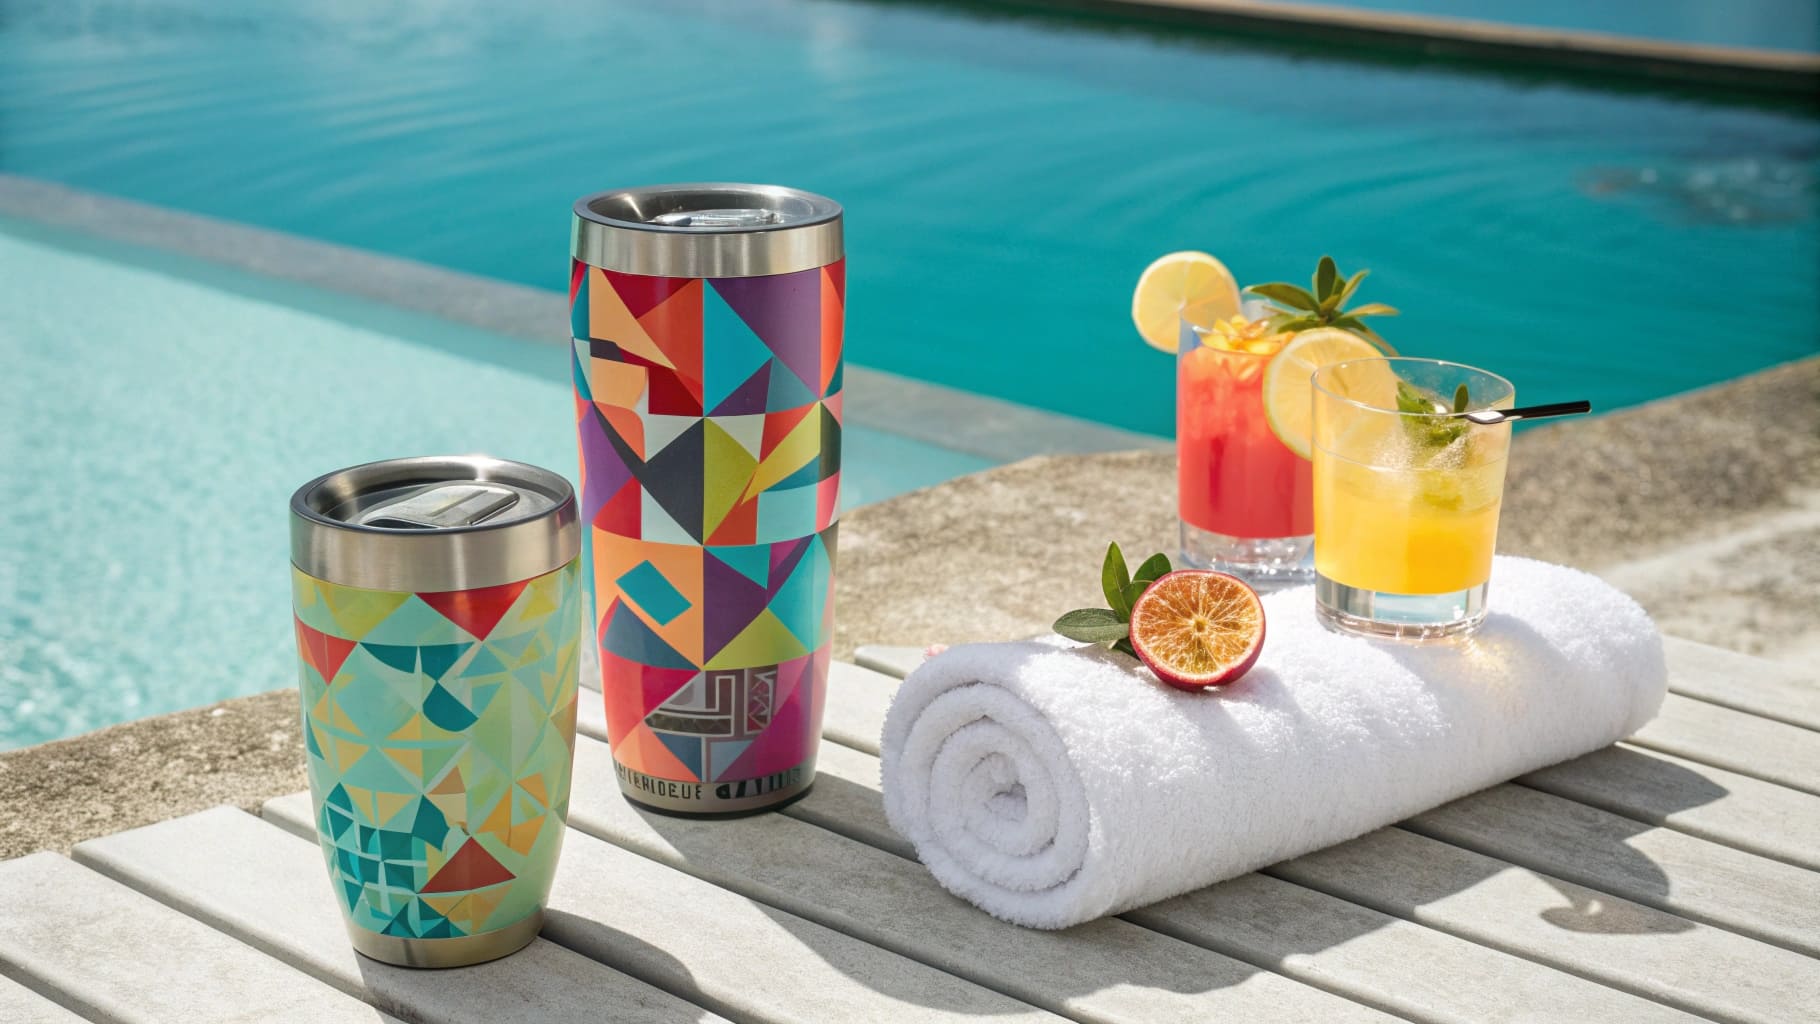
20oz Tumbler Roadmap: Regional Preferences, Handle Options, and Lids Trends
You spent months searching for the perfect 20oz tumbler supplier. You ordered samples. You tested different lid types1. But your customers still complain about leaks and poor print quality.
The 20oz tumbler market splits into distinct regional preferences and technical specifications. Understanding lid variations, sublimation parameters, and image sizing standards helps you avoid costly mistakes and customer complaints.

I have worked with hundreds of buyers who struggle with the same tumbler challenges. They order beautiful samples that fail in real-world use. The problem is not the tumbler itself. The problem is missing the details that matter. Let me walk you through what actually works in the 20oz tumbler market.
What Is a Tumbler Lid?
Your customers open their tumbler in the car and coffee spills everywhere. They try to drink while walking and the lid falls off. These daily frustrations drive them to your competitors who offer better lid solutions.
A tumbler lid is a removable cap with drinking mechanisms like sliders, straws, or flip tops. Modern lids combine spill-proof sealing with easy one-hand operation for on-the-go drinking.
Understanding Modern Lid Technologies
I see the lid market changing fast. Five years ago, a simple snap-on lid was enough. Now my buyers demand magnetic sliders, 2-in-1 drinking modes, and leak-proof guarantees.
The magnetic slider lid2 changed everything for my North American customers. The mechanism uses food-grade Tritan plastic with embedded magnets. You slide the opening closed with one finger. The magnetic force keeps it shut even when the tumbler tips over in a bag.
My Canadian buyer Mark tested these lids by throwing filled tumblers in his car trunk. He drove over rough roads for thirty minutes. No leaks. He placed a large order the next week.
The 2-in-1 lid design serves two drinking styles. You can insert a straw through one opening or drink directly from another. This flexibility matters for different beverages. Hot coffee works better with direct sipping. Iced drinks need a straw to avoid ice hitting your face.
Some premium lids now include separate compartments. You store tea bags, protein powder, or fruit in the top section. When ready, you release the contents into the main tumbler. This multi-function approach appeals to fitness and health-focused market segments.
| Lid Type | Key Feature | Best For | Price Range |
|---|---|---|---|
| Magnetic Slider | One-hand spill-proof closure | Commuters, office workers | Medium-High |
| 2-in-1 Design | Straw and direct sipping options | Multi-beverage users | Medium |
| Flip Top | Quick access, simple mechanism | Casual daily use | Low-Medium |
| Compartment Lid | Ingredient storage space | Fitness, health beverages | High |
The material choice for lids affects durability and safety. Tritan offers impact resistance and BPA-free certification3. Polypropylene costs less but may crack after repeated drops. Silicone seals inside the lid prevent leaks but must use food-grade materials that resist high temperatures.
I always tell my buyers to test lids with hot liquids first. Some cheaper seals deform under heat. The lid seems fine with cold water but fails with hot coffee. This discovery after placing a large order costs you money and damages your brand reputation.
What Is the Time and Temperature for a 20oz Sublimation Tumbler in a Tumbler Press?
Your first batch of custom tumblers arrives with faded prints and uneven colors. You followed the supplier's vague instructions about "medium heat." Now you have 500 unusable tumblers sitting in your warehouse.
The optimal sublimation process4 uses temperatures below 160 degrees Celsius for approximately 20 minutes in an oven-based system. Heat gun methods require about three minutes of direct heating with careful temperature control.
Mastering Sublimation Technical Parameters
I learned sublimation the hard way. My first attempt at customizing tumblers resulted in blurry designs and colors that washed off after three uses. The problem was not the equipment or the design file. The problem was ignoring precise temperature control.
The sublimation process transforms solid ink into gas under heat. This gas penetrates the polymer coating on the stainless steel surface. When the tumbler cools, the gas returns to solid form and bonds permanently with the coating. The science seems simple but the execution requires precision.
Temperature too high damages the polymer coating. You see yellowing or bubbling on the surface. The coating may peel after a few washes. Temperature too low prevents proper ink penetration. The colors look pale and the design wipes off easily.
The 160-degree Celsius threshold represents the maximum safe temperature for most polymer coatings. I recommend staying at 155 degrees for consistent results. This slight buffer protects against temperature variations in different oven zones.
Processing time connects directly to temperature. At 155 degrees, twenty minutes allows complete ink transfer without coating damage. You can reduce time by increasing temperature, but this narrow margin for error increases defect rates.
Heat gun sublimation offers speed advantages for small batches. Three minutes of direct heating can produce good results. But this method demands operator skill. You must maintain consistent distance and movement patterns. Uneven heating creates color variations across the design.
I use oven-based sublimation for orders above 100 units. The automated temperature control ensures consistency. Each tumbler receives identical heat exposure. This consistency matters when your buyer needs 50 tumblers with matching brand colors.
The polymer coating quality affects sublimation results as much as temperature control. Cheap coatings may have thin or uneven application. These defects cause inconsistent ink absorption. You follow perfect sublimation parameters but still get varied results across tumblers.
| Method | Temperature | Time | Pros | Cons |
|---|---|---|---|---|
| Oven Sublimation | 155-160°C | 20 minutes | Consistent results, batch processing | Slower, equipment cost |
| Heat Gun | ~160°C | 3 minutes | Fast, low equipment cost | Requires skill, uneven results risk |
| Tumbler Press | 175-185°C | 60-90 seconds | Professional finish, very fast | High equipment cost, learning curve |
Some buyers ask about tumbler press methods5. These specialized machines wrap the tumbler with printed transfer paper and apply even pressure with heat. The higher temperature range of 175-185 degrees Celsius works because the pressure and wraparound design prevent coating damage. Processing time drops to 60-90 seconds per tumbler.
The tumbler press produces the most professional results but requires significant equipment investment. I only recommend this for buyers planning consistent volumes above 500 units monthly.
Environmental factors affect sublimation success too. Humidity above 60 percent can cause moisture problems in the transfer paper. The moisture turns to steam under heat and creates tiny bubbles in the final design. I run dehumidifiers in my sublimation area to maintain 40-50 percent humidity.
What Size Should an Image Be for a 20oz Tumbler?
Your designer sends you beautiful logo files. You approve the design. The tumblers arrive with the logo stretched awkwardly or cut off at the edges. Your brand looks unprofessional and you wasted the entire order.
Image sizing for 20oz tumblers requires files at 300 DPI minimum with dimensions matching the tumbler circumference plus bleed area. Standard 20oz skinny tumblers measure 2.8 inches in diameter and 8.5 inches in height with printable area calculations based on these dimensions.
Calculating Precise Image Dimensions
I deal with image sizing problems constantly. Buyers send me logos in wrong formats or incorrect dimensions. They get frustrated when I ask for new files. But this step prevents disasters after production starts.
The 20oz skinny tumbler has become the market standard. The 2.8-inch mouth diameter and 8.5-inch height create a tapered cylindrical shape. This shape looks elegant but complicates wrap-around printing.
You calculate the circumference by multiplying diameter by pi. For the widest part of the tumbler body, this gives roughly 8.8 inches. But the taper means the circumference decreases toward the bottom. Your image must account for this variation.
The printable area excludes the top and bottom sections. The top inch near the rim stays blank to avoid contact with the lid seal. The bottom half-inch avoids the base connection point. This leaves about 7 inches of usable vertical space.
The horizontal wrap needs extra width for seam overlap. I add 0.25 inches of bleed area on each side. This overlap ensures no white gap appears where the design edges meet. The total horizontal dimension becomes 9.3 inches for proper coverage.
Resolution determines print clarity. 300 DPI represents the professional standard. This means 300 dots of ink per inch. Lower resolution like 150 DPI makes logos look pixelated or blurry after printing. Text becomes hard to read.
Your designer must create files at actual printing size with 300 DPI resolution. Scaling up a small logo file introduces blur. The software cannot add detail that does not exist in the original file. Start with high-resolution source files.
I provide my buyers with exact tumbler templates. These templates show the printable area with guide marks for safe zones. Safe zones keep critical elements like text or logos away from the edges where distortion occurs during heat transfer.
| Dimension Type | Measurement | Purpose |
|---|---|---|
| Mouth Diameter | 2.8 inches | Reference for circumference calculation |
| Total Height | 8.5 inches | Determines vertical space |
| Circumference | ~8.8 inches | Base for horizontal layout |
| Printable Height | ~7 inches | Safe vertical design area |
| Print Width with Bleed | ~9.3 inches | Full horizontal coverage |
| Resolution | 300 DPI minimum | Professional print quality |
The tapered body creates perspective challenges. A straight rectangular design looks correct when flat but appears distorted when wrapped on the curved surface. Vertical lines bow outward. Text near the edges stretches.
Experienced designers compensate for this distortion. They slightly curve straight lines in the opposite direction. After wrapping, these pre-curved lines appear straight. This technique requires practice and understanding of the specific tumbler shape.
Color space matters for accurate color reproduction. RGB files work for screens but CMYK is the standard for printing. Your bright red logo in RGB may turn darker or more orange in CMYK. Convert files to CMYK before approving final designs.
I once had a buyer insist on keeping RGB files. The tumblers printed with completely wrong brand colors. We had to scrap the batch and start over. He learned an expensive lesson about proper file preparation.
File format affects editing flexibility and print quality. Vector formats like AI or EPS allow infinite scaling without quality loss. Raster formats like JPEG lose quality when enlarged. For logos and text-heavy designs, vector files work best.
Some buyers send me photos they want printed on tumblers. Photos need even higher attention to resolution and sizing. A phone photo at 1080 pixels wide looks fine on screens but prints poorly at 9 inches wide. The math does not work. That 1080 pixels spread over 9 inches gives only 120 DPI. The result looks grainy and unprofessional.
You must balance design coverage with blank space. Full-wrap designs that cover the entire printable area look bold and modern. Partial designs with strategic blank space look clean and elegant. The choice depends on your brand identity and target market preferences.
Conclusion
The 20oz tumbler market rewards buyers who master technical details. Lid selection, sublimation precision, and image sizing directly impact product quality and customer satisfaction.
-
Learn about various tumbler lid types to choose the best option for your customers. ↩
-
Find out why magnetic slider lids are popular among tumbler users. ↩
-
Explore the significance of BPA-free materials for health-conscious consumers. ↩
-
Gain a deeper understanding of the sublimation process to improve your results. ↩
-
Discover how tumbler press methods can enhance your production efficiency. ↩